Bring home a fun new project! Sign up from our Library Calendar and pick up a kit at the Youth Services desk or through our Parking Lot Pickup service between September 13-24.
Toddler & PreK: DIY Liquid Chalk
Mix simple ingredients to make your own liquid color, then see what you can create on the sidewalk. Register for the September Toddler & PreK Take-and-Make Kit here.
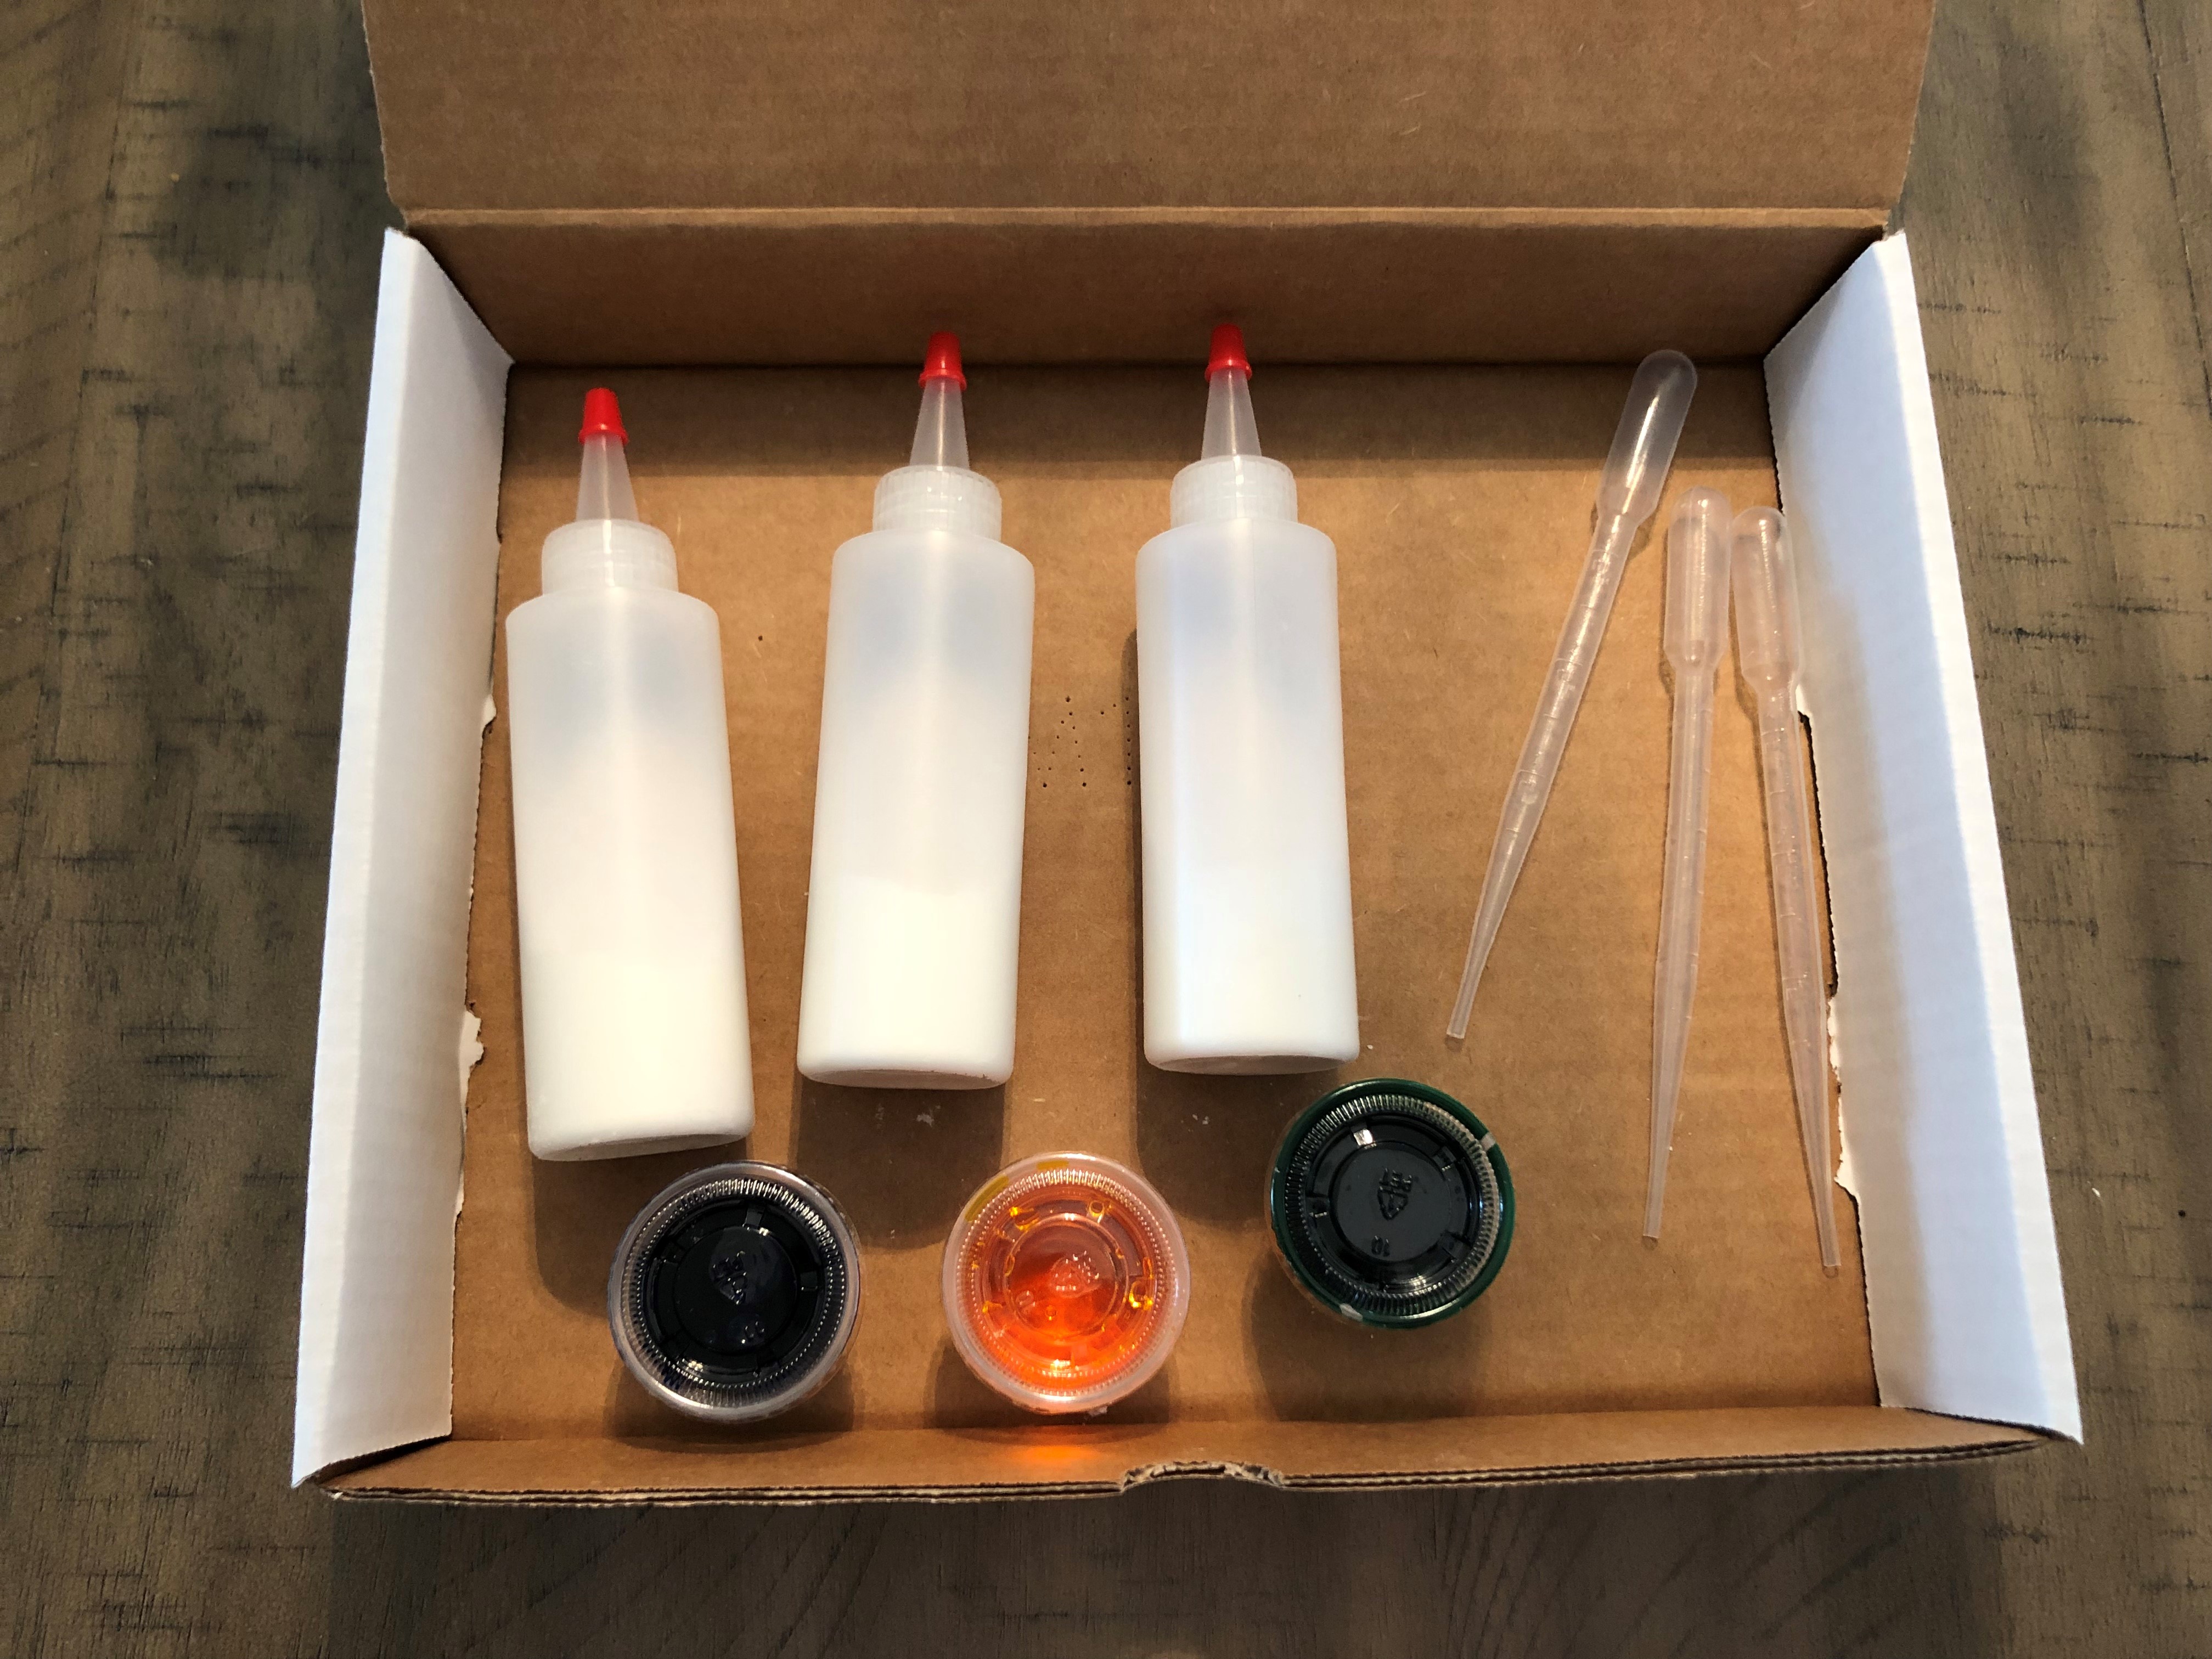
Your kit contains:
- Three squeeze bottles pre-filled with one ounce of baking soda and one ounce of corn starch
- Three one-ounce cups of liquid watercolor
- Three pipettes
Instructions:
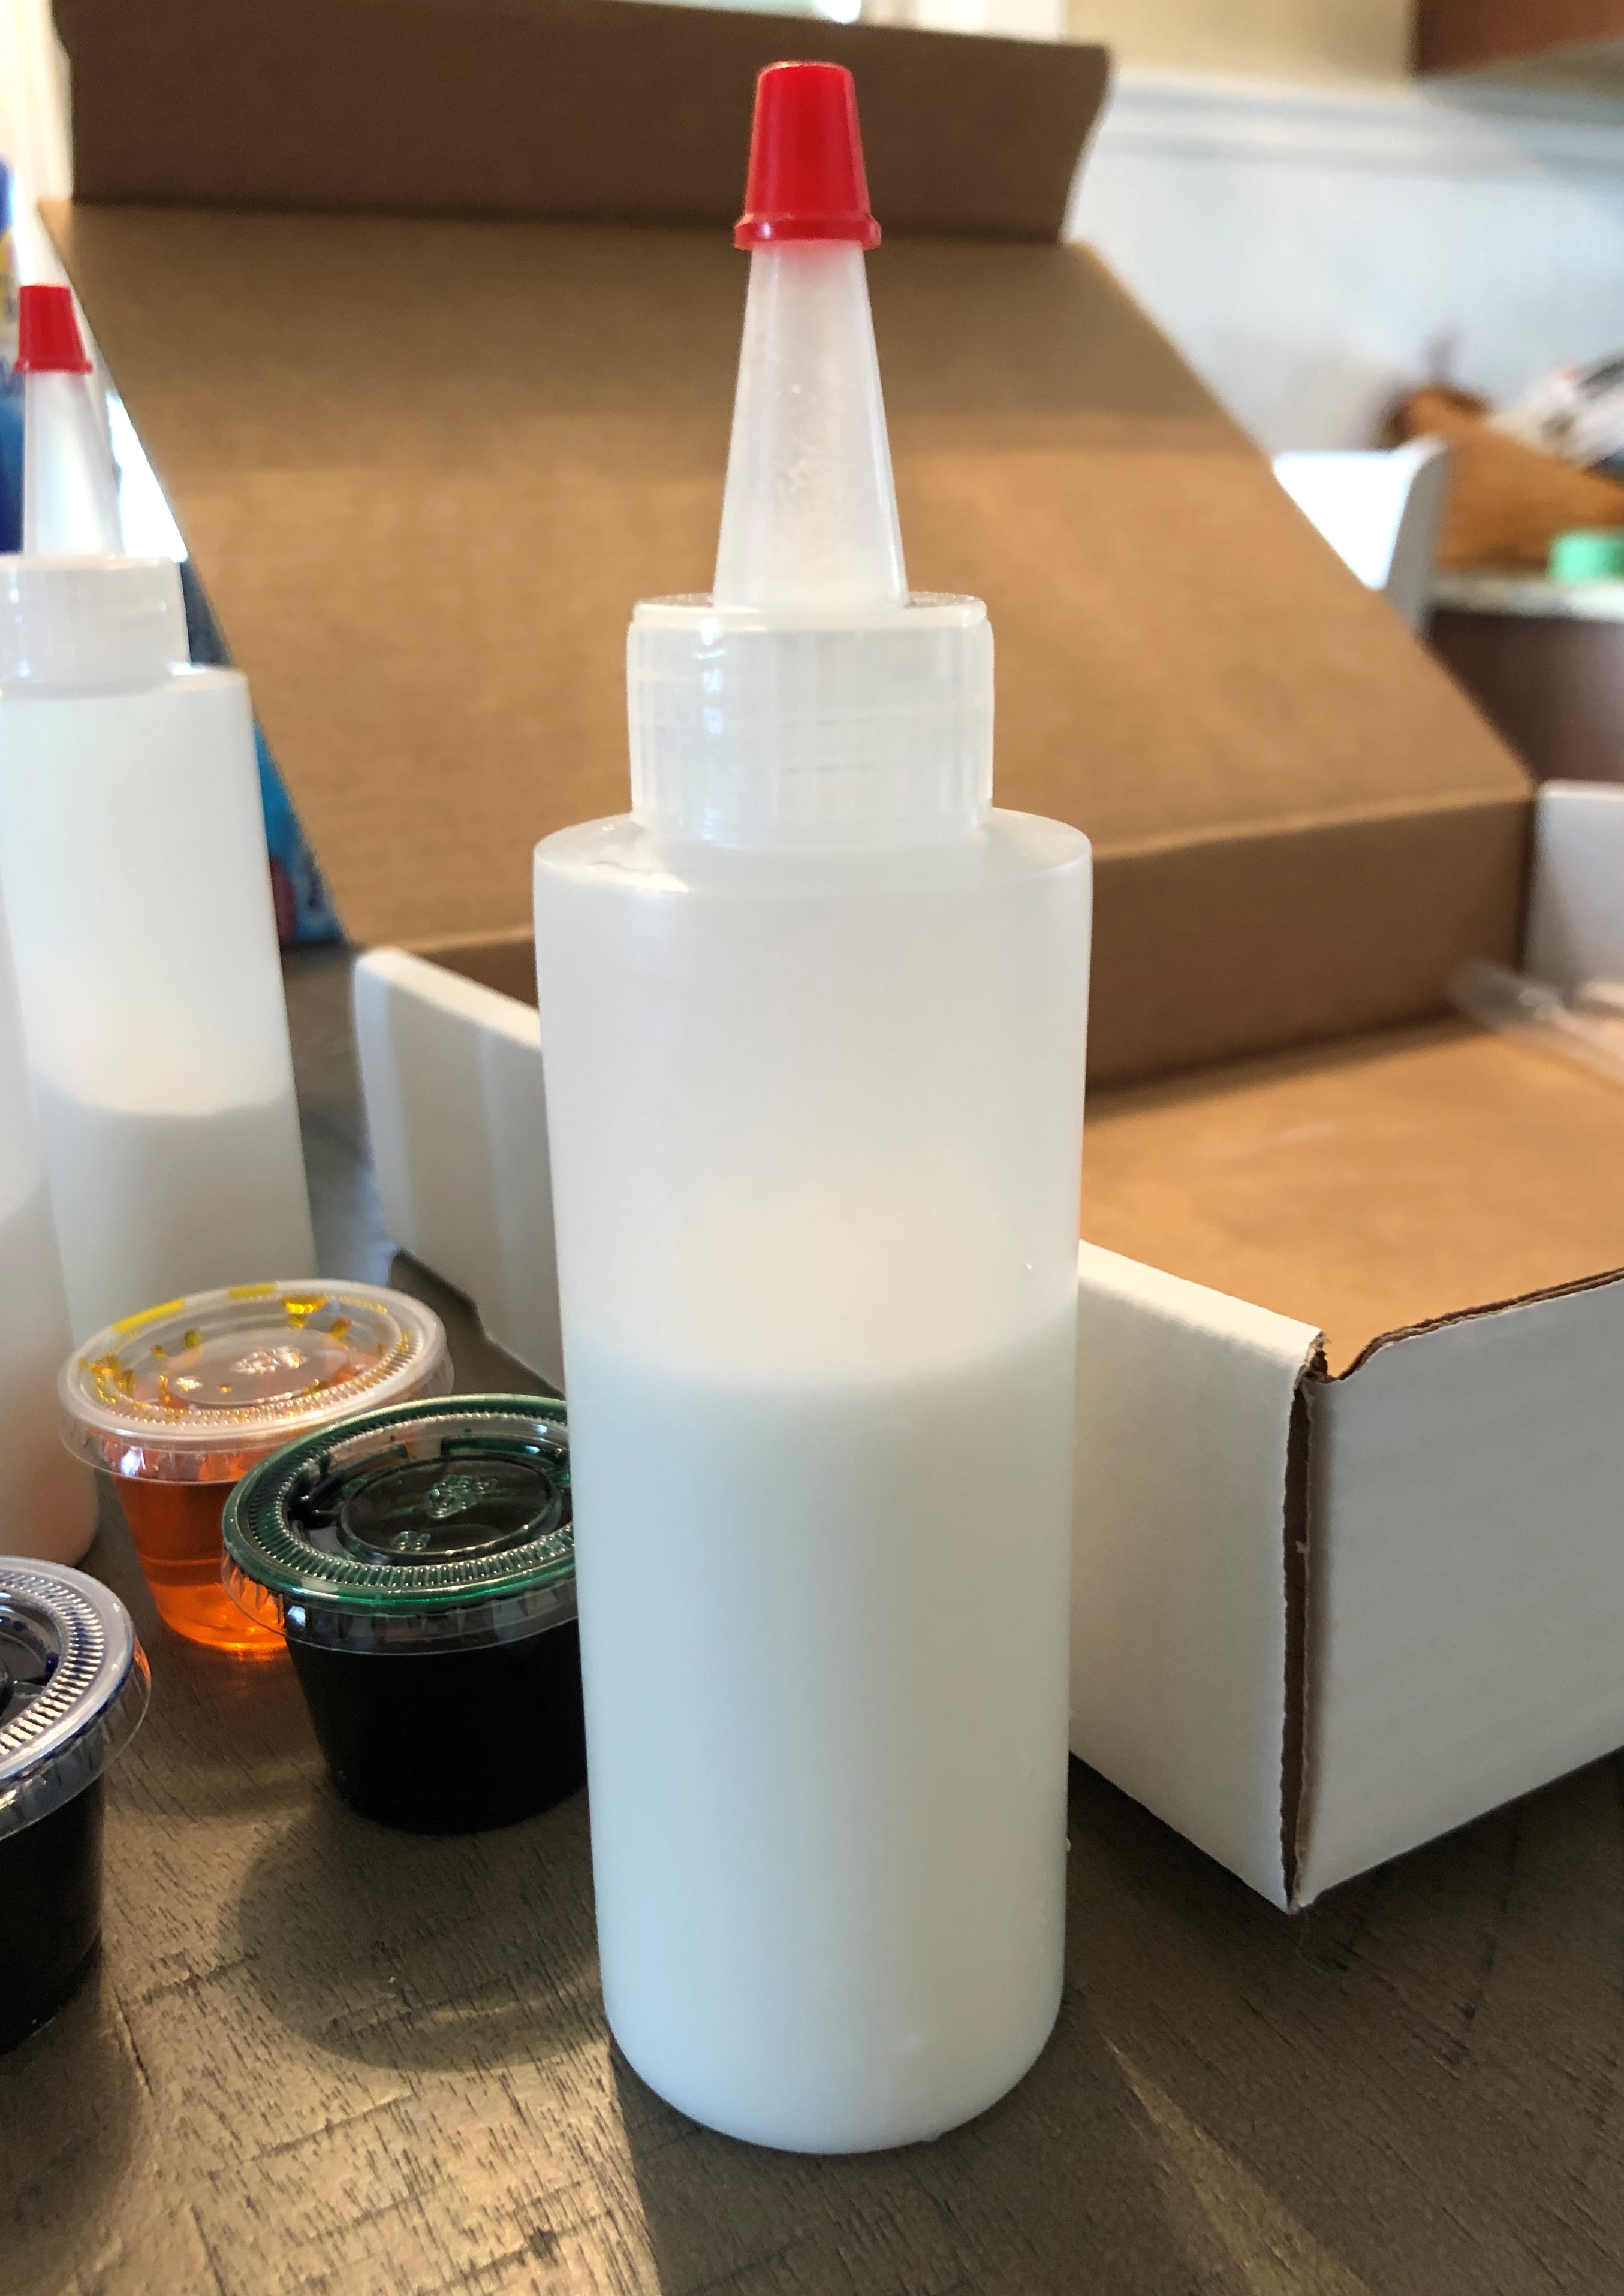
1. Untwist the top of the squeeze bottle and fill it about two-thirds full of water. Remember to save space for the liquid watercolor!
2. Put the cap back on the bottle and shake vigorously to mix the water with the baking soda and corn starch at the bottom. It should look a little milky when mixed.
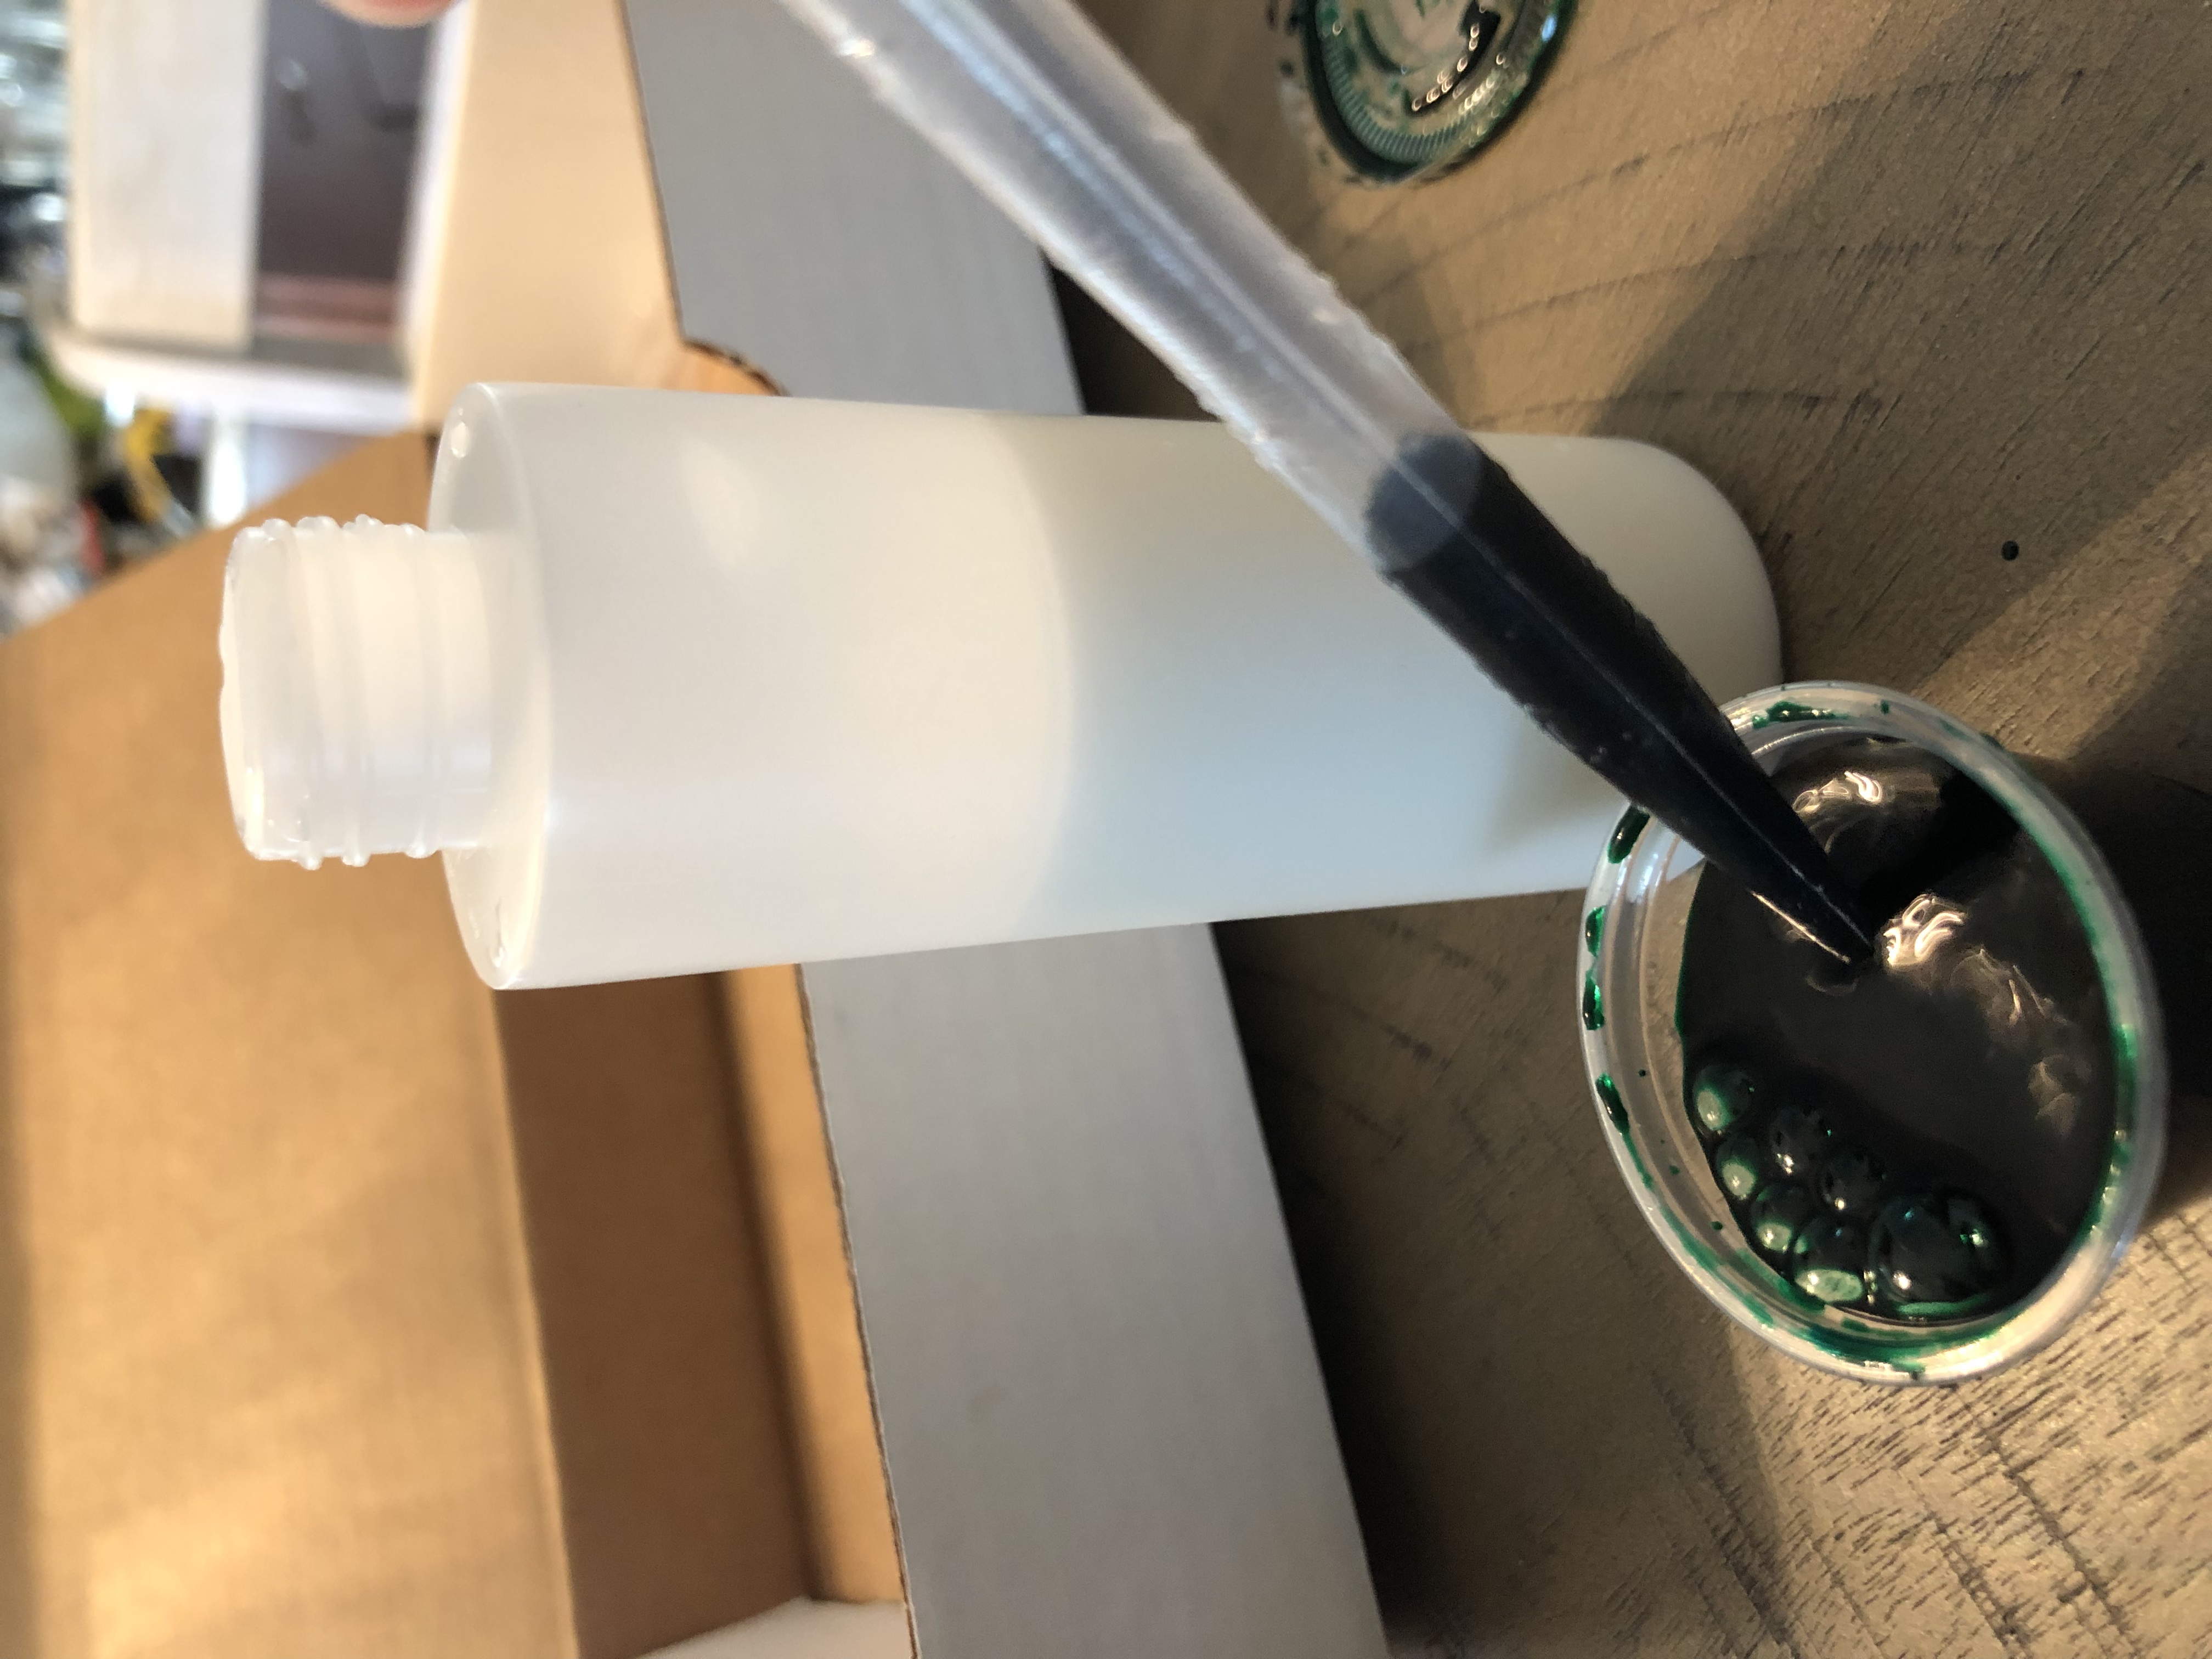
3. Using a pipette, transfer the liquid watercolor into your squeeze bottle.
 |
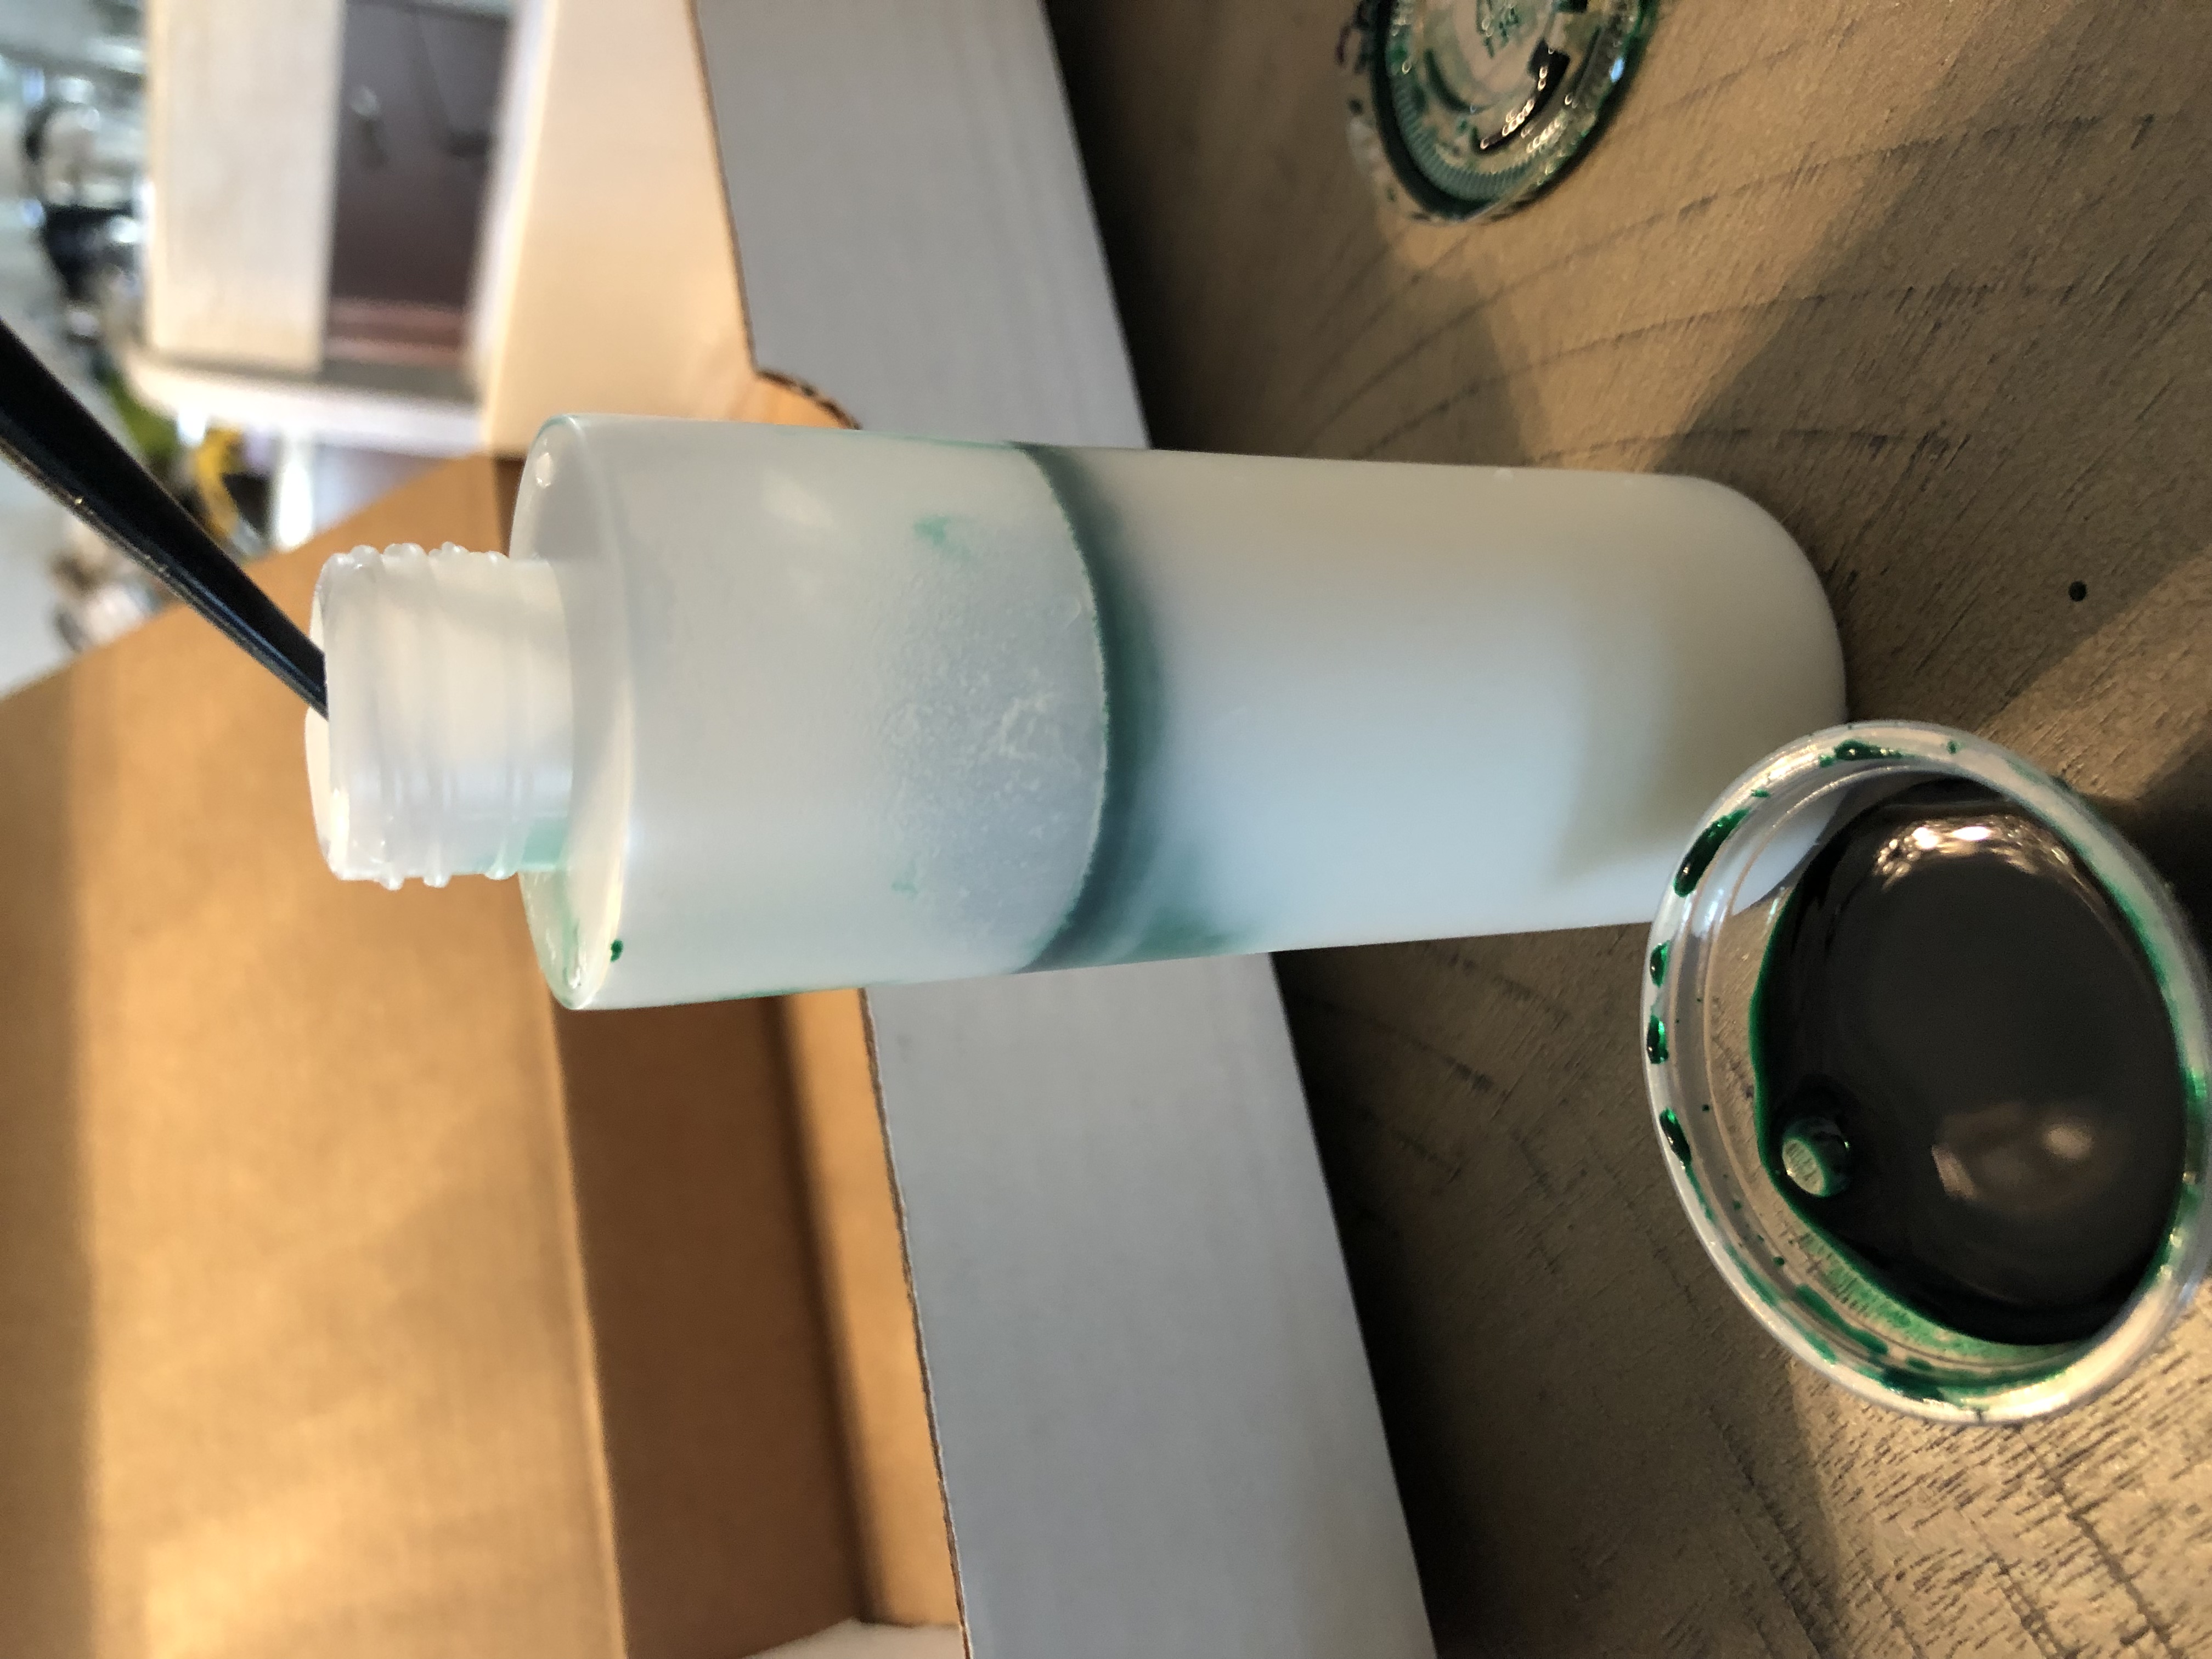 |
4. Put the cap back on the bottle and shake until the watercolor is distributed evenly.
5. Repeat steps 1-4 for each squeeze bottle using a different color of watercolor for each.
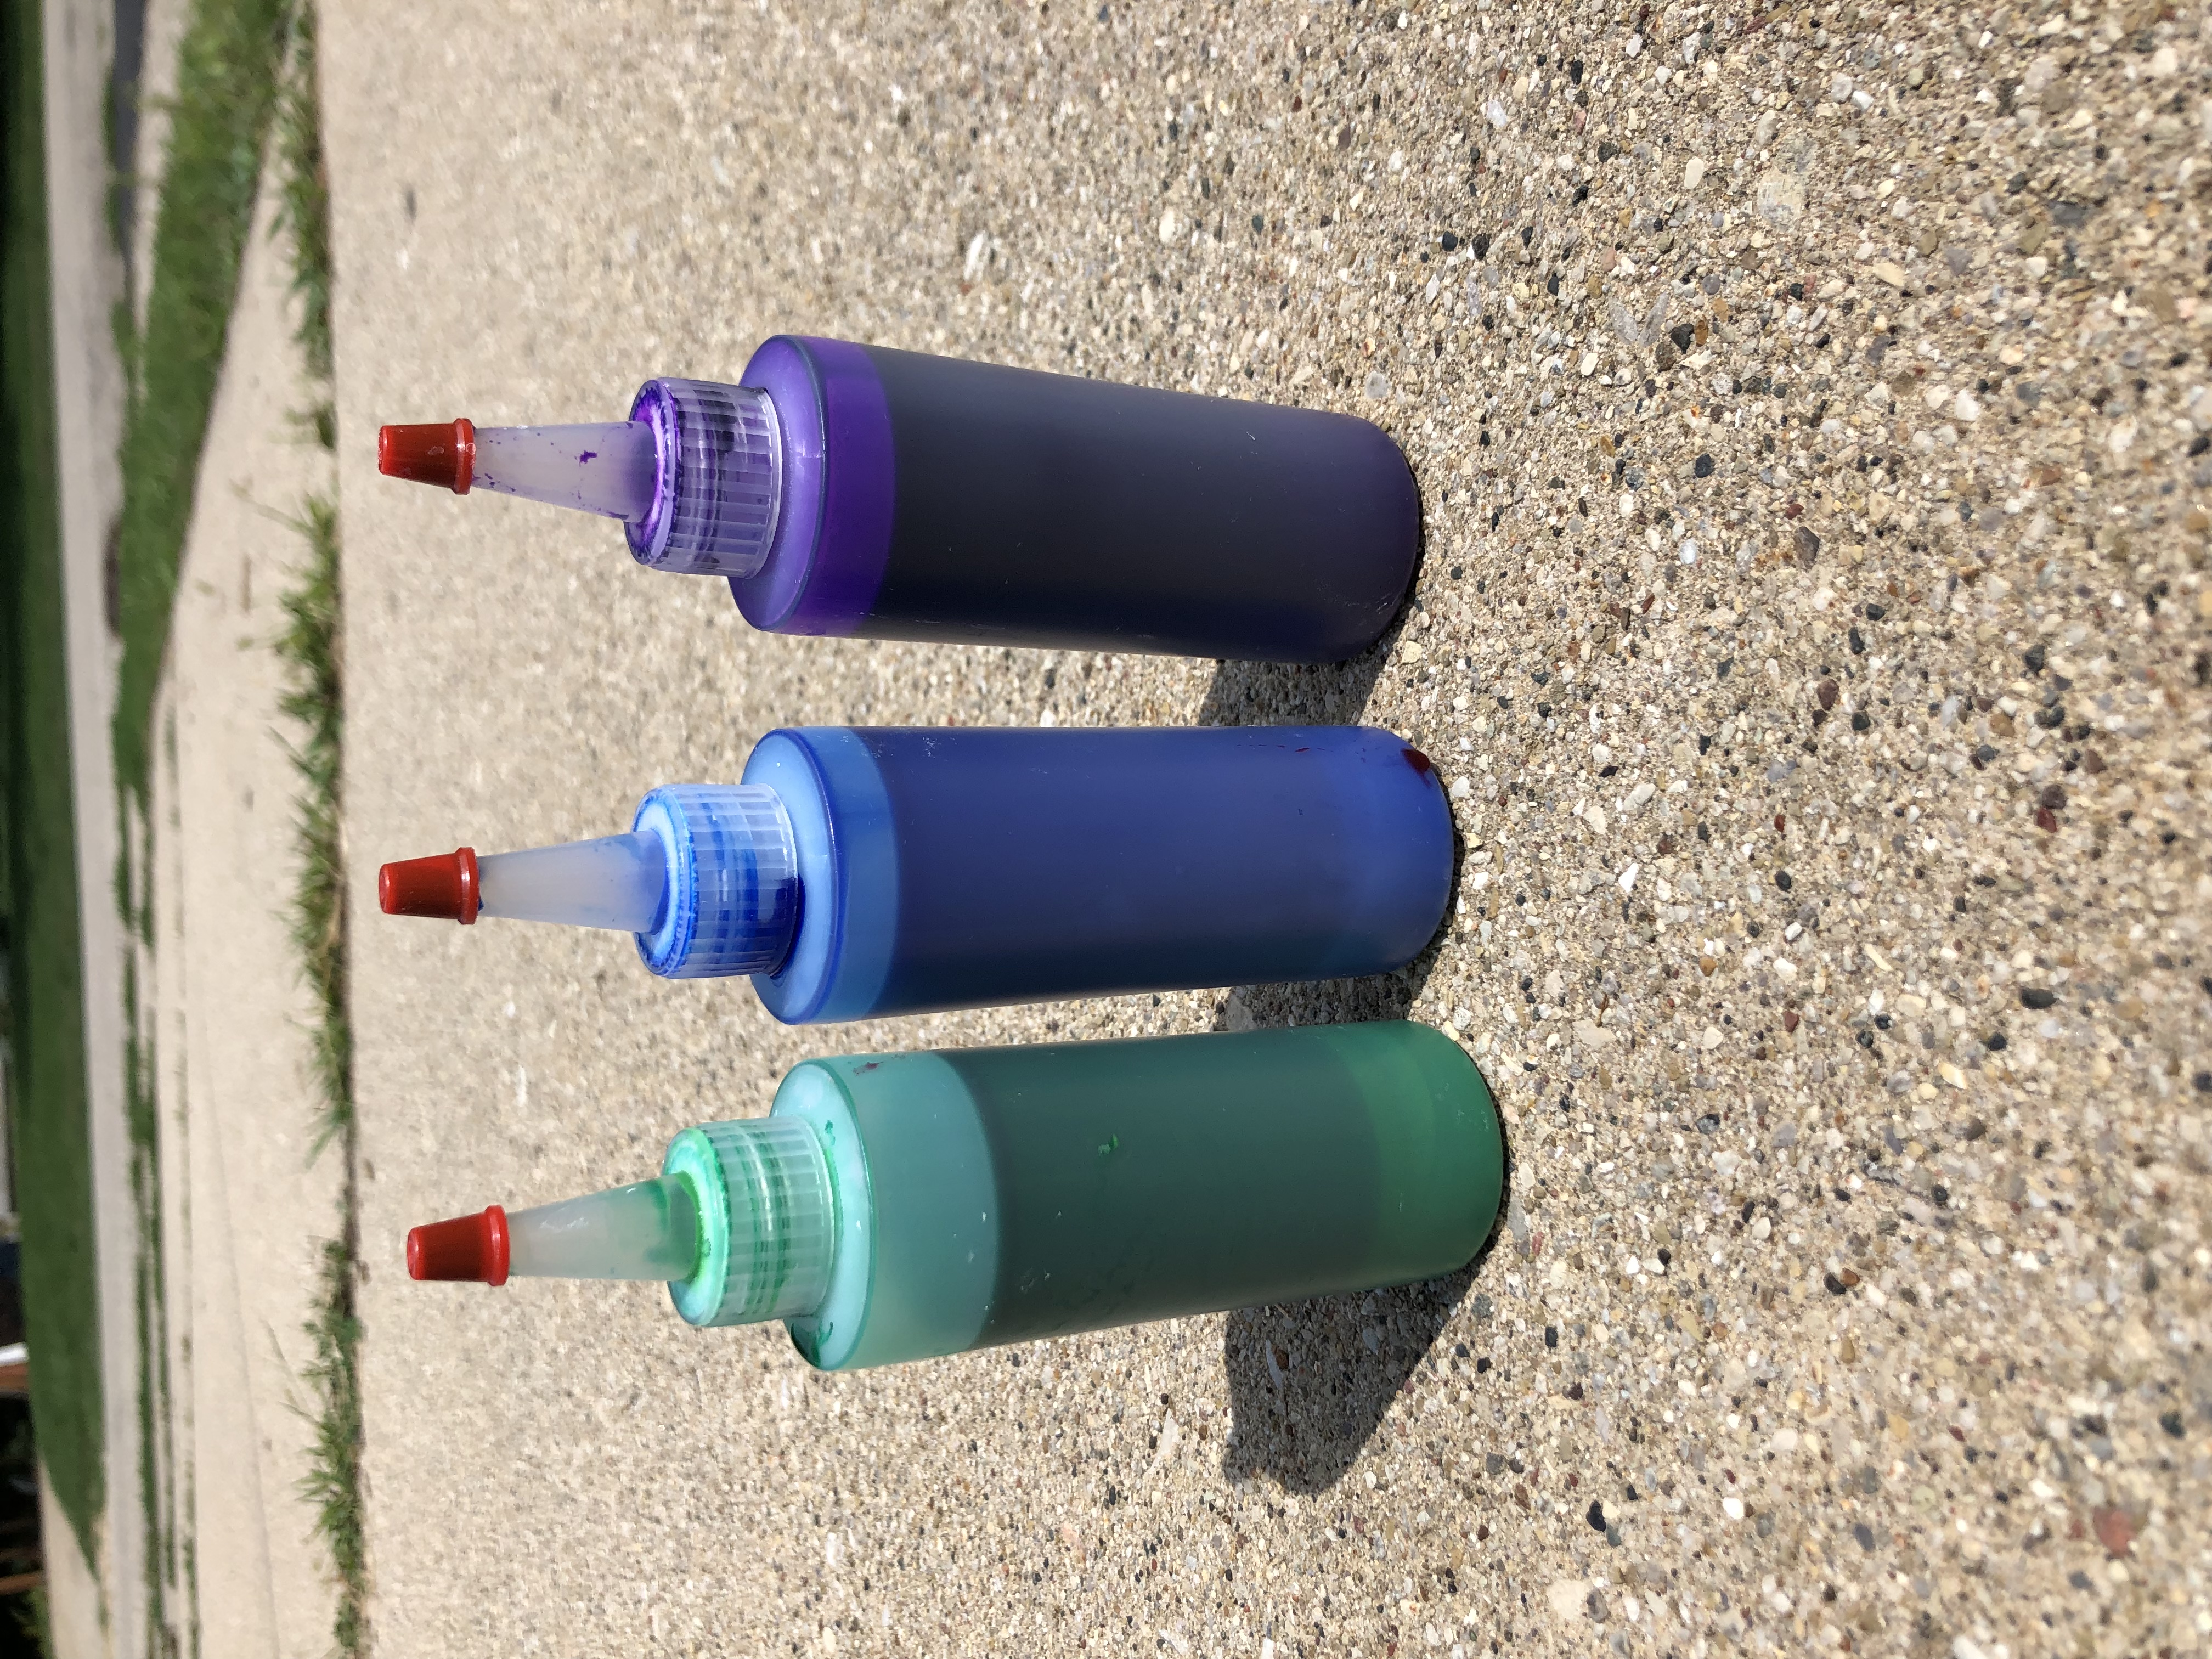
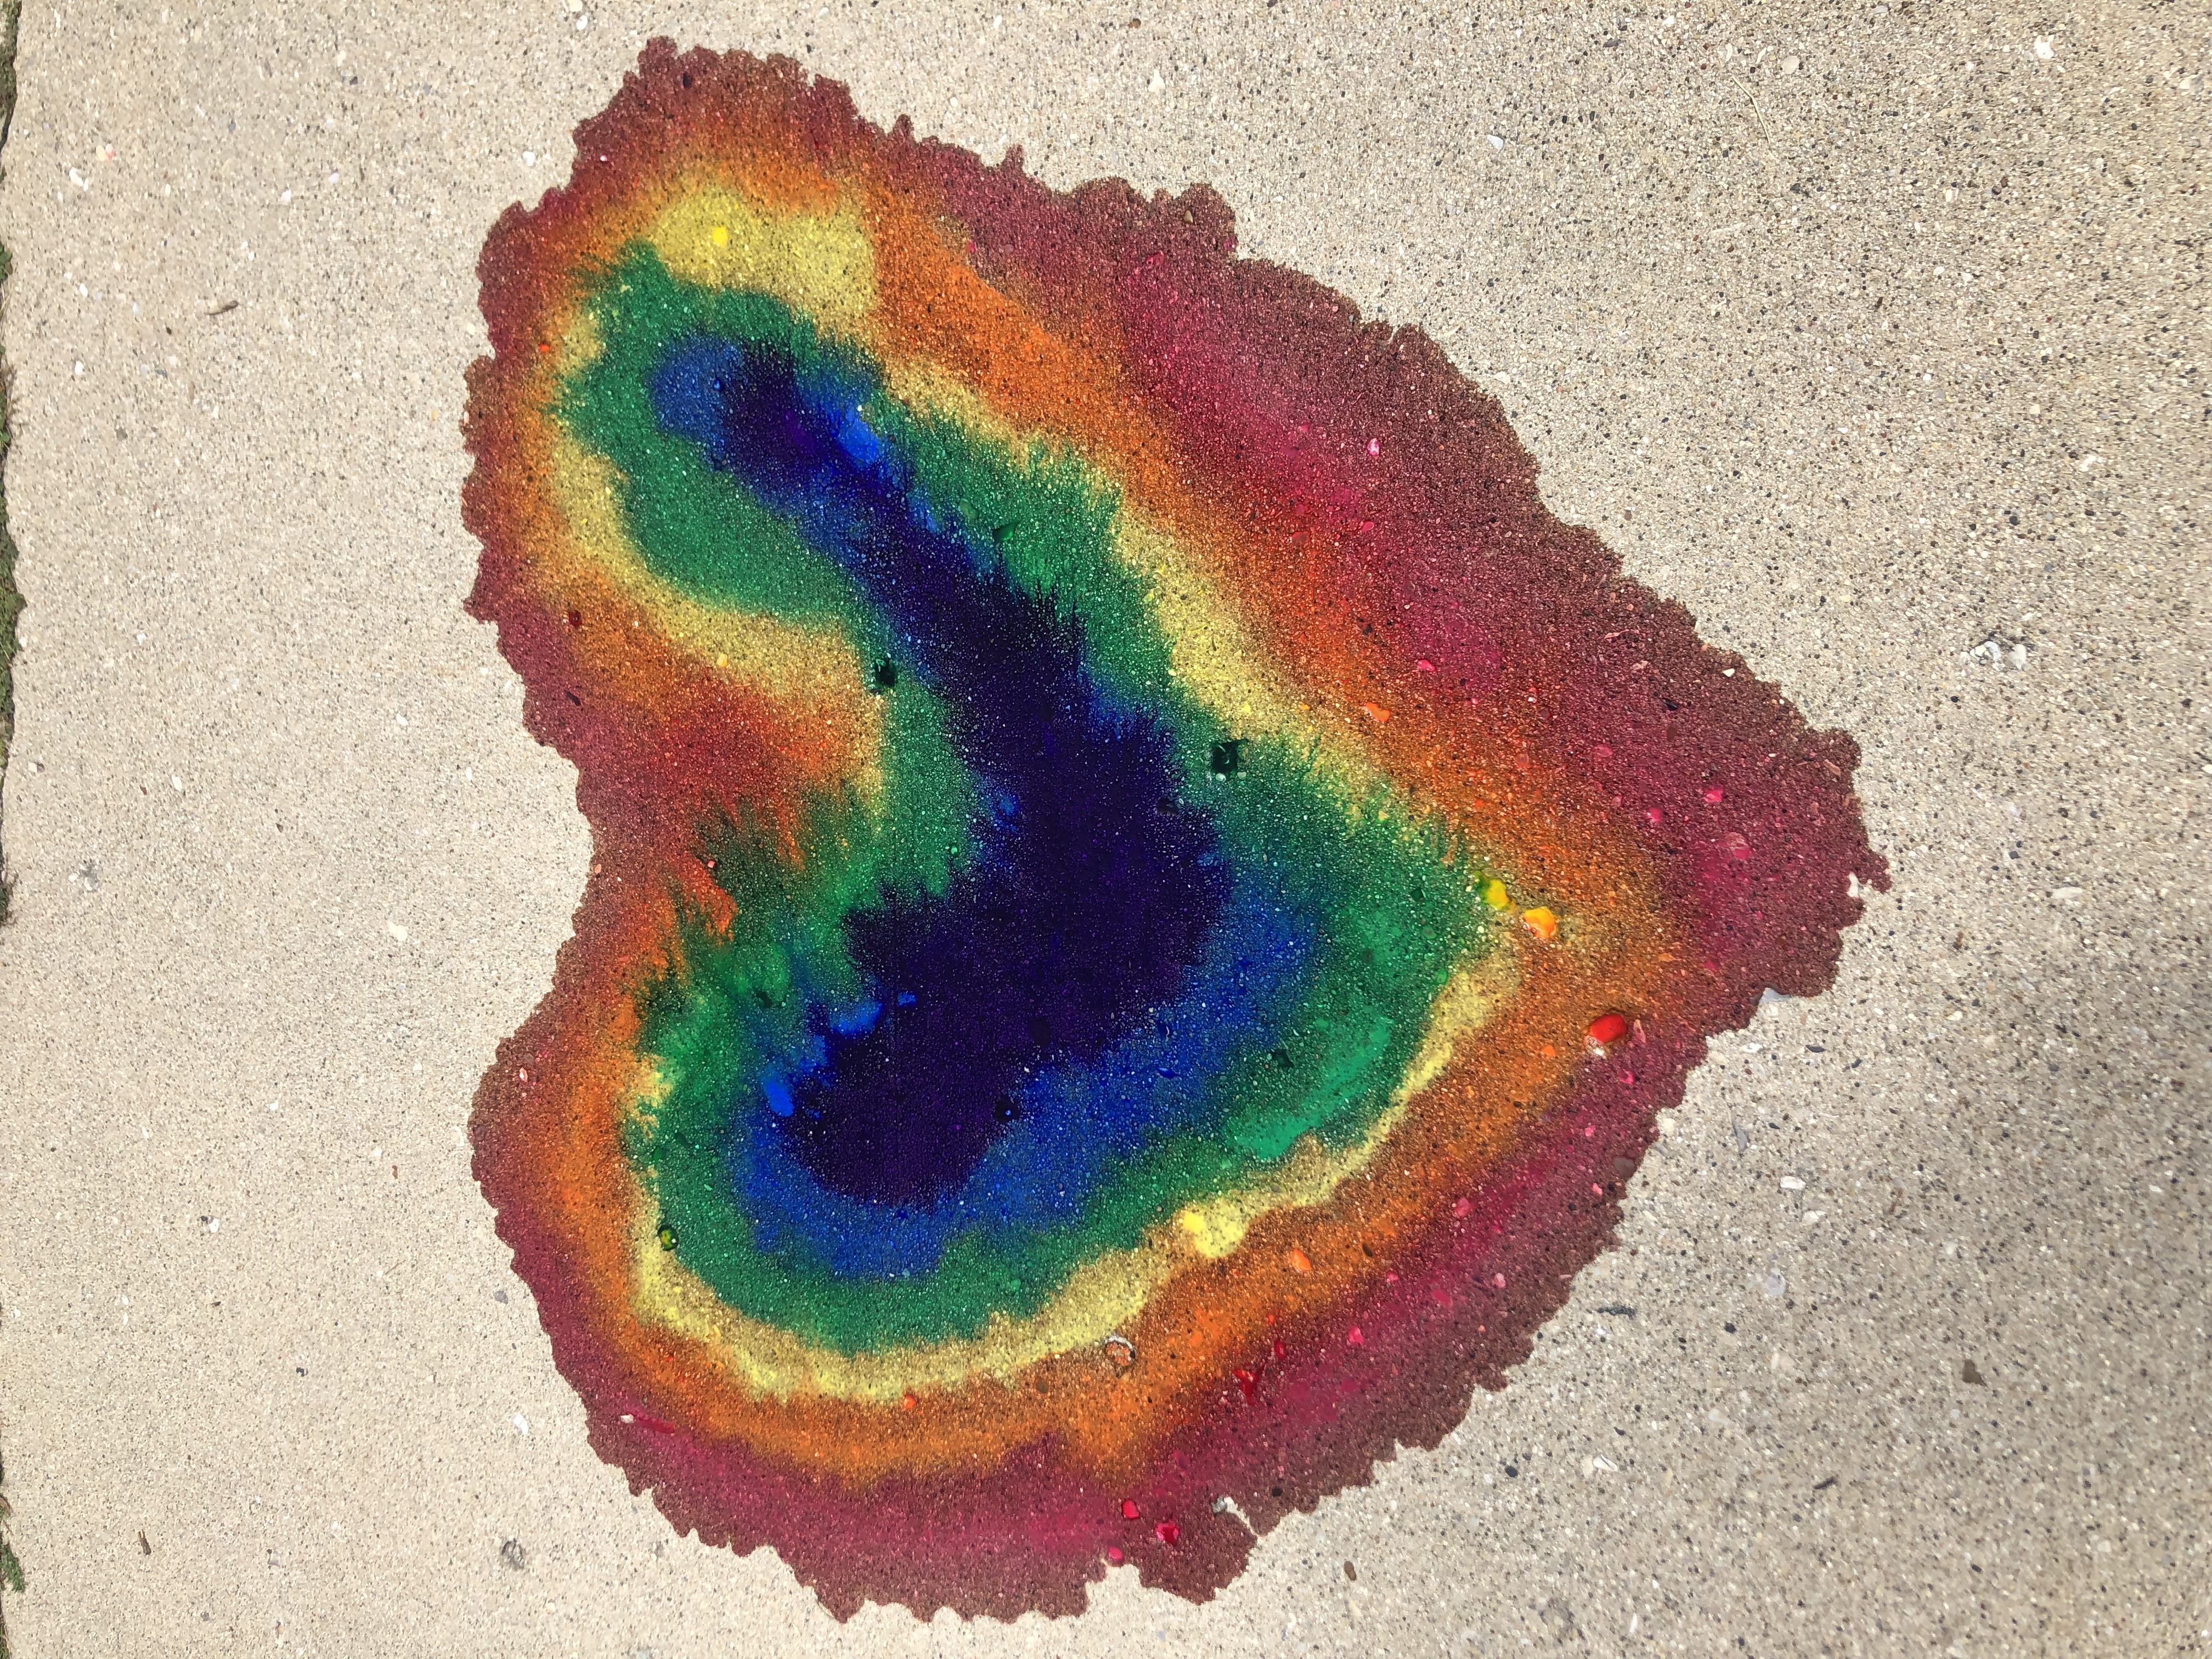
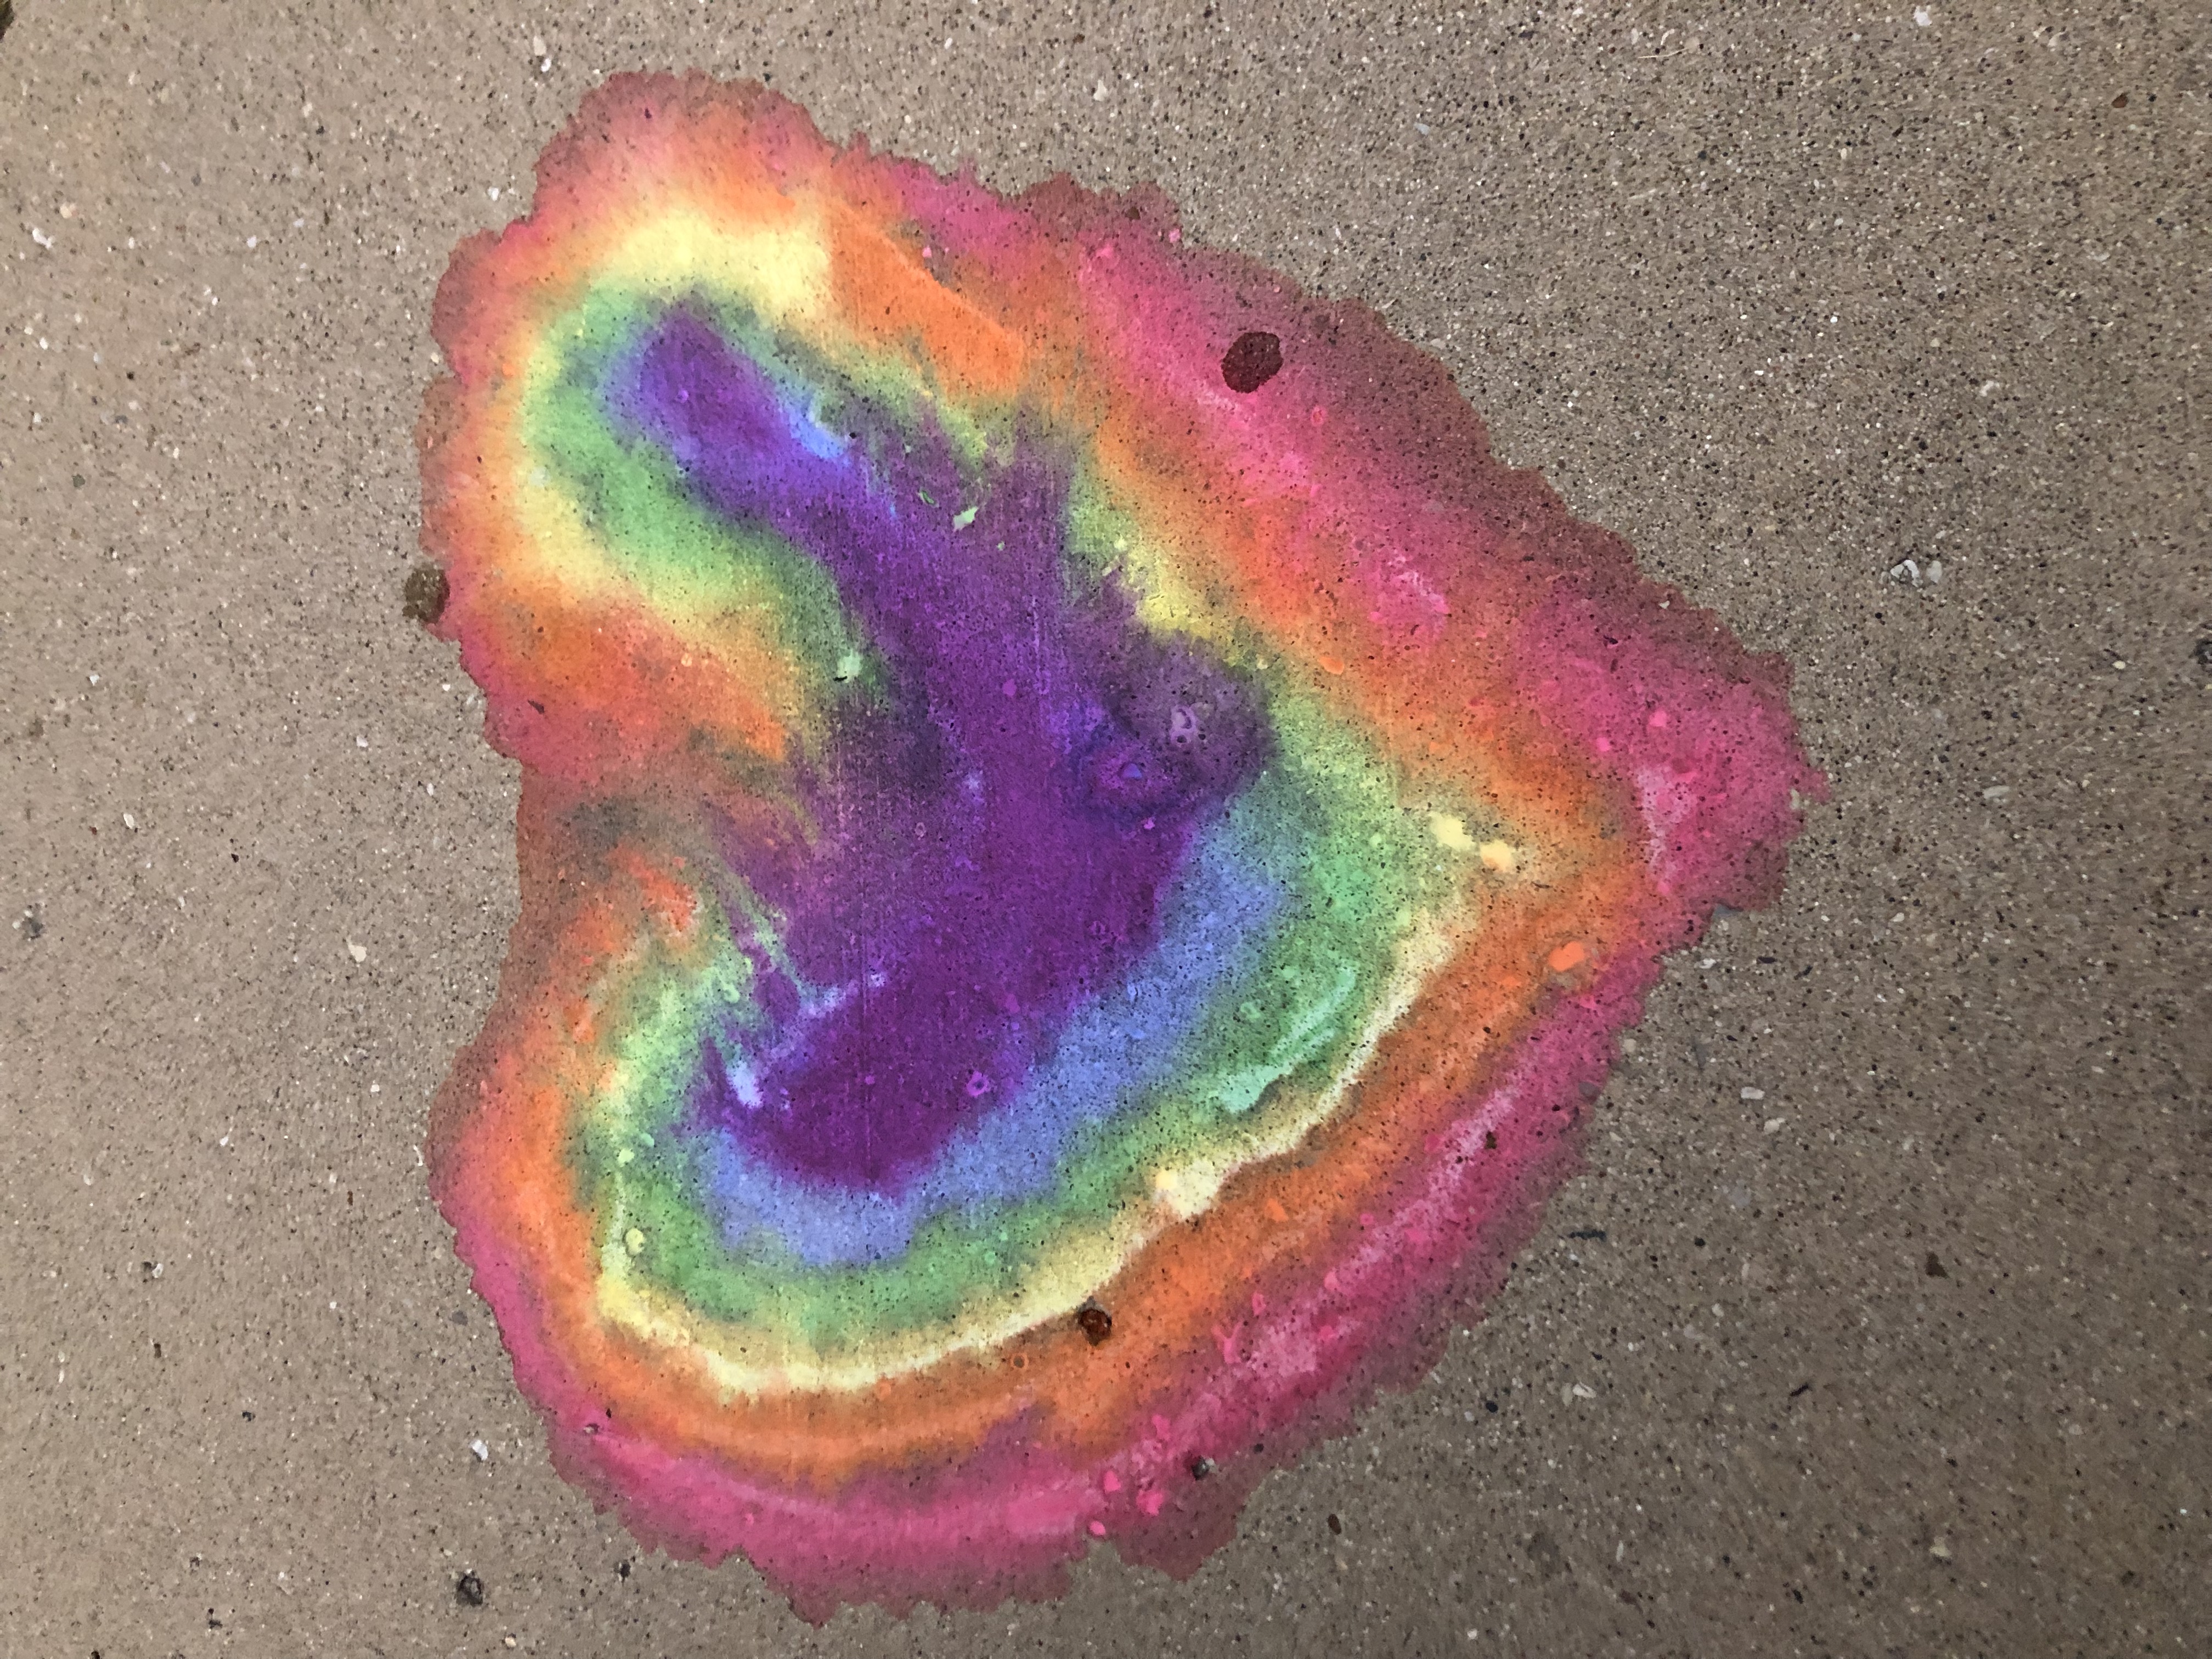
6. Take your liquid chalk outside and paint on the sidewalk. Tip: The liquid chalk may be hard to control and come out looking splatter-y. Embrace the messiness of it! For lighter colors, you may need to wait for the chalk to dry before the color fully comes through.
7. Step back and enjoy your creations!
 |
 |
Bonus tip:
To reuse your squeeze bottles and make more liquid chalk, rinse bottle thoroughly and then fill it with one ounce (two tablespoons) of baking soda and one ounce of corn starch. To add color, use liquid watercolor or substitute with food coloring. This recipe is based on the four ounce squeeze bottles provided in the kits, but if you use another squeeze bottle that you own, just make sure to use an equal amount of baking soda and corn starch, adjusting the amount for the size of the bottle.
Show us what you created! Send us pictures at youthservices@balibrary.org.
Grades K-2: Animal Mobile
Create a floating menagerie for your bedroom with these supplies. Register for the September Grades K-2 Take-and-Make Kit here.
Kit contains:
- Two dowel rods
- Eight foam sheets
- Six animal stencils
- One plastic needle
- Two sets of embroidery thread
- Four jingle bells
- Twelve pony beads
You will also need:
- Scissors
- Pen
Instructions:
- Trace animal stencils onto foam sheets and cut out. Use as many colors and animals as you wish. You will need at least 4 animals, though you can use more. Feel free to design your own shapes, too!
- Cut a length of thread about 1 foot long. Place the two dowels in an X-shape, and then tie them tightly together with the thread. Leave extra thread so you can hang the mobile. You can use more thread to wrap the two rods tightly together in different directions, to make sure it is secure. Test out the balance, and adjust the rods so they hang pretty straight.
- Cut another strand of thread about 1 foot long. Thread the needle with the cut piece, then use the threaded needle to punch a hole through the top of one of the foam animals. Tie a knot to secure.
- You can connect multiple animals in the same string if you would like.
- Cut another piece of thread. Tie a jingle bell and, if you’d like, some pony beads on one end. Thread the other side through the needle and punch it through your bottom-most animal on the string. This will help weigh the mobile down.
- When you’re done with your string of animals, tie them to one end of the dowels. (Optional: secure with glue)
- Repeat three more times, one string for each dowel end.
- Hang your mobile up, and watch your animals float and fly!
Show us what you created! Send us pictures at youthservices@balibrary.org.
Grades 3-8: Yarn Wall Hanging
Create a unique piece of art to add color and texture to your space. Register for the September Grades 3-8 Take-and-Make Kit here.
Show us what you created! Send us pictures at youthservices@balibrary.org.
 Youth Services Assistant Librarian Alyssa

