
Bring home a fun new project! You can now register to pick up a Take-and-Make Kit from the Youth Services desk. Here are the instructions for each kit:
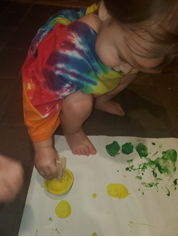
Toddlers and Preschoolers: Paint with Pom Poms
Pompoms are great for fine motor play. Before beginning the painting activity, you may consider taking an opportunity to allow your child to explore the texture of the pompoms. Additional activities to consider when allowing your child to manipulate the pompoms; providing spoons, tweezer and/or the provided clothes pins to allow for an unstructured play activity. If you wanted to add an additional educational activity you can add cotton balls and help your child create a pattern or use the pompoms to teach counting or one-to-one correspondence.
Let’s get started!
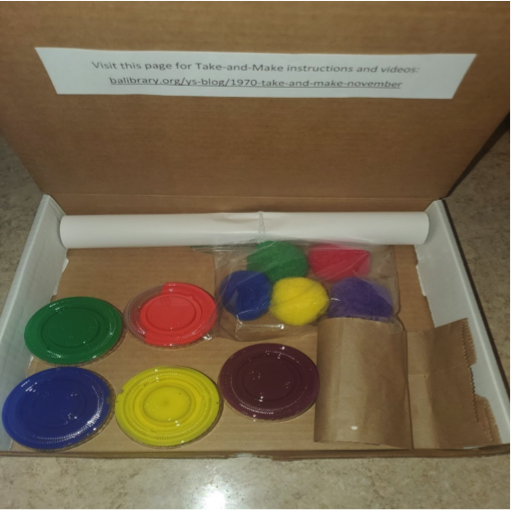
Unroll the rolled paper and place it on a flat surface.
Pinch one clothes pin, to each pompom. This is a great fine motor activity for your child to try.
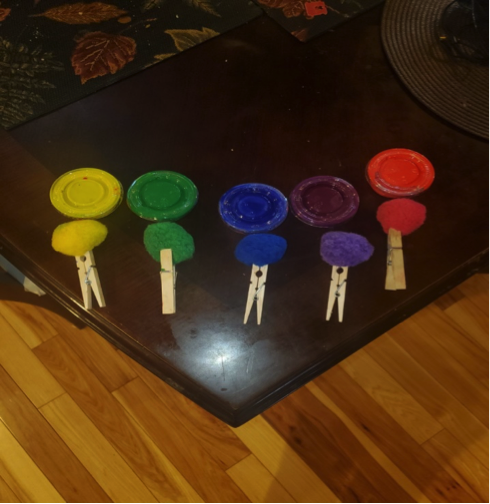
Have your child match the color of the pompom to the color of the paint. This is a wonderful opportunity to work on color recognition. (It will also help remind your child which pompom goes with which paint).
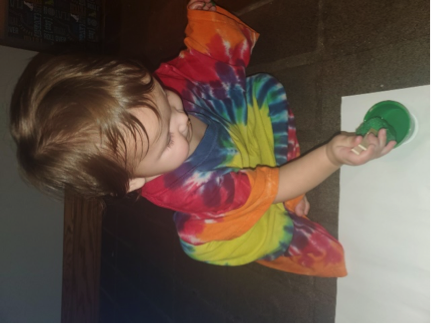
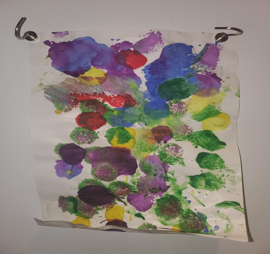
Now that you and your child have created pompom paint brushes, let your child explore making dots and creating their master piece!
Register for a Toddler/PreK Kit here.
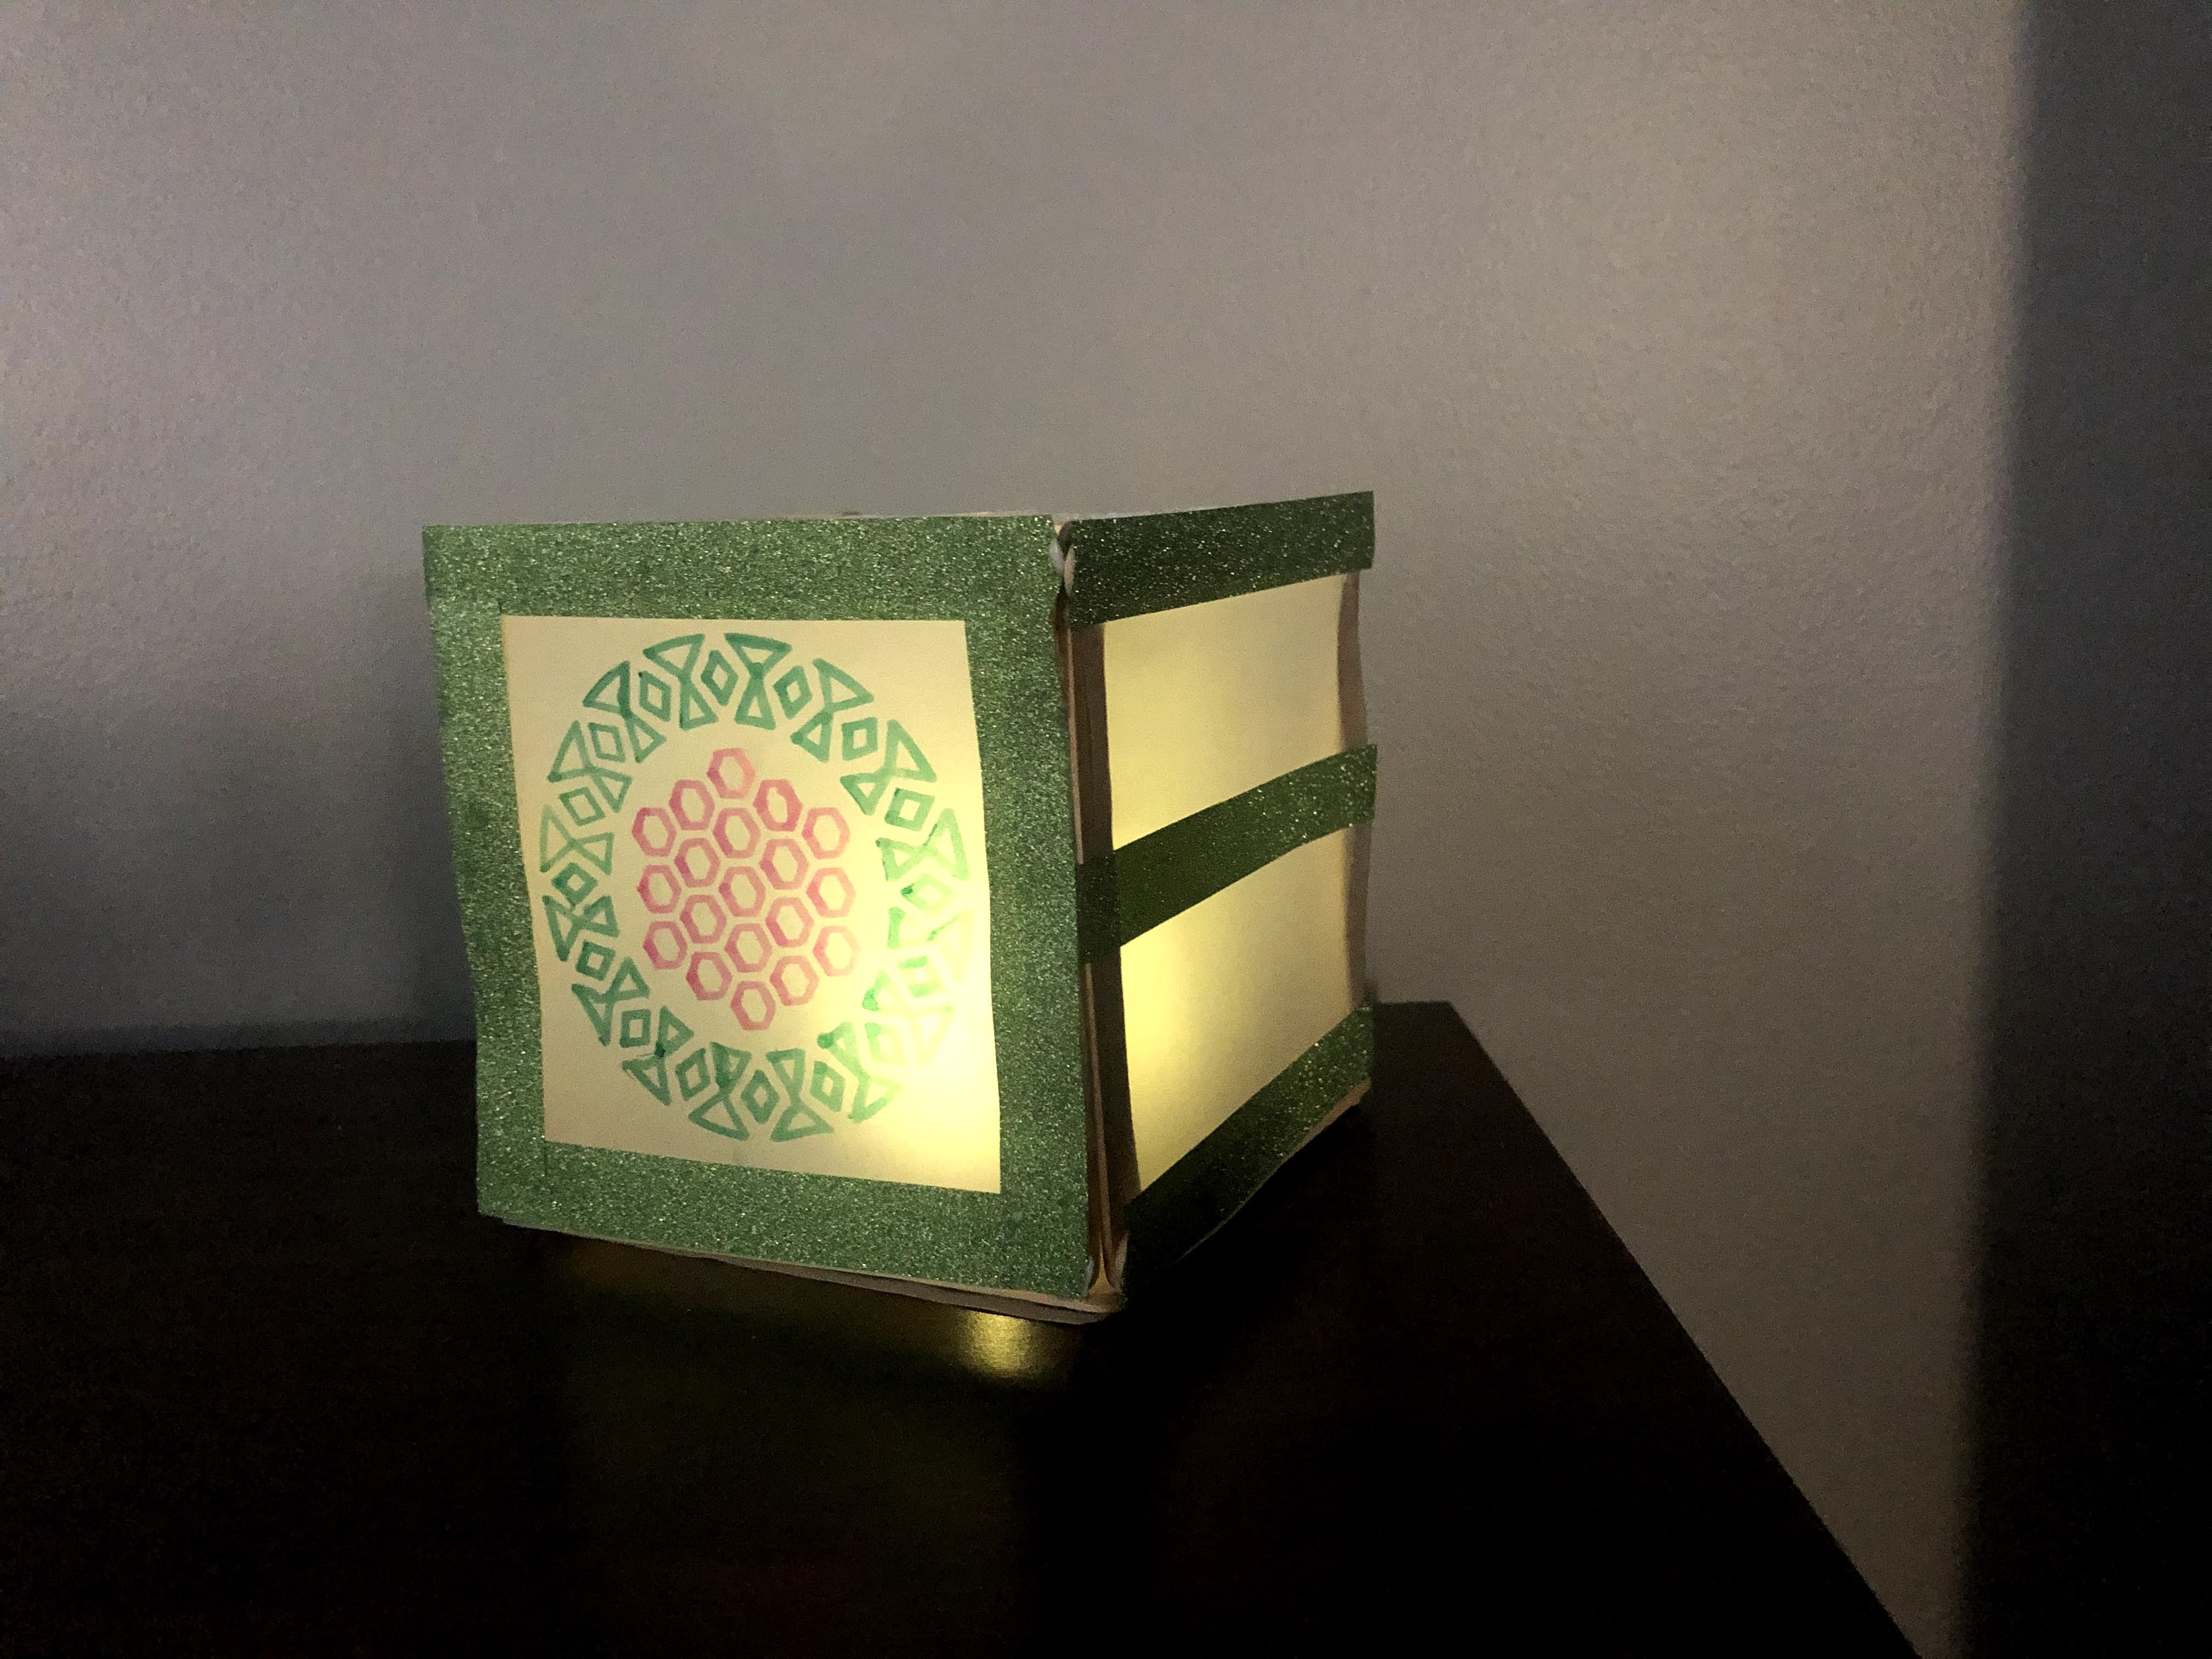
Grades K-2: Paper Lanterns
Things you will need in addition to what is included in the kit:
- Scissors
- Ruler
- Pencil
Instructions:
1. Take Items out of the box.
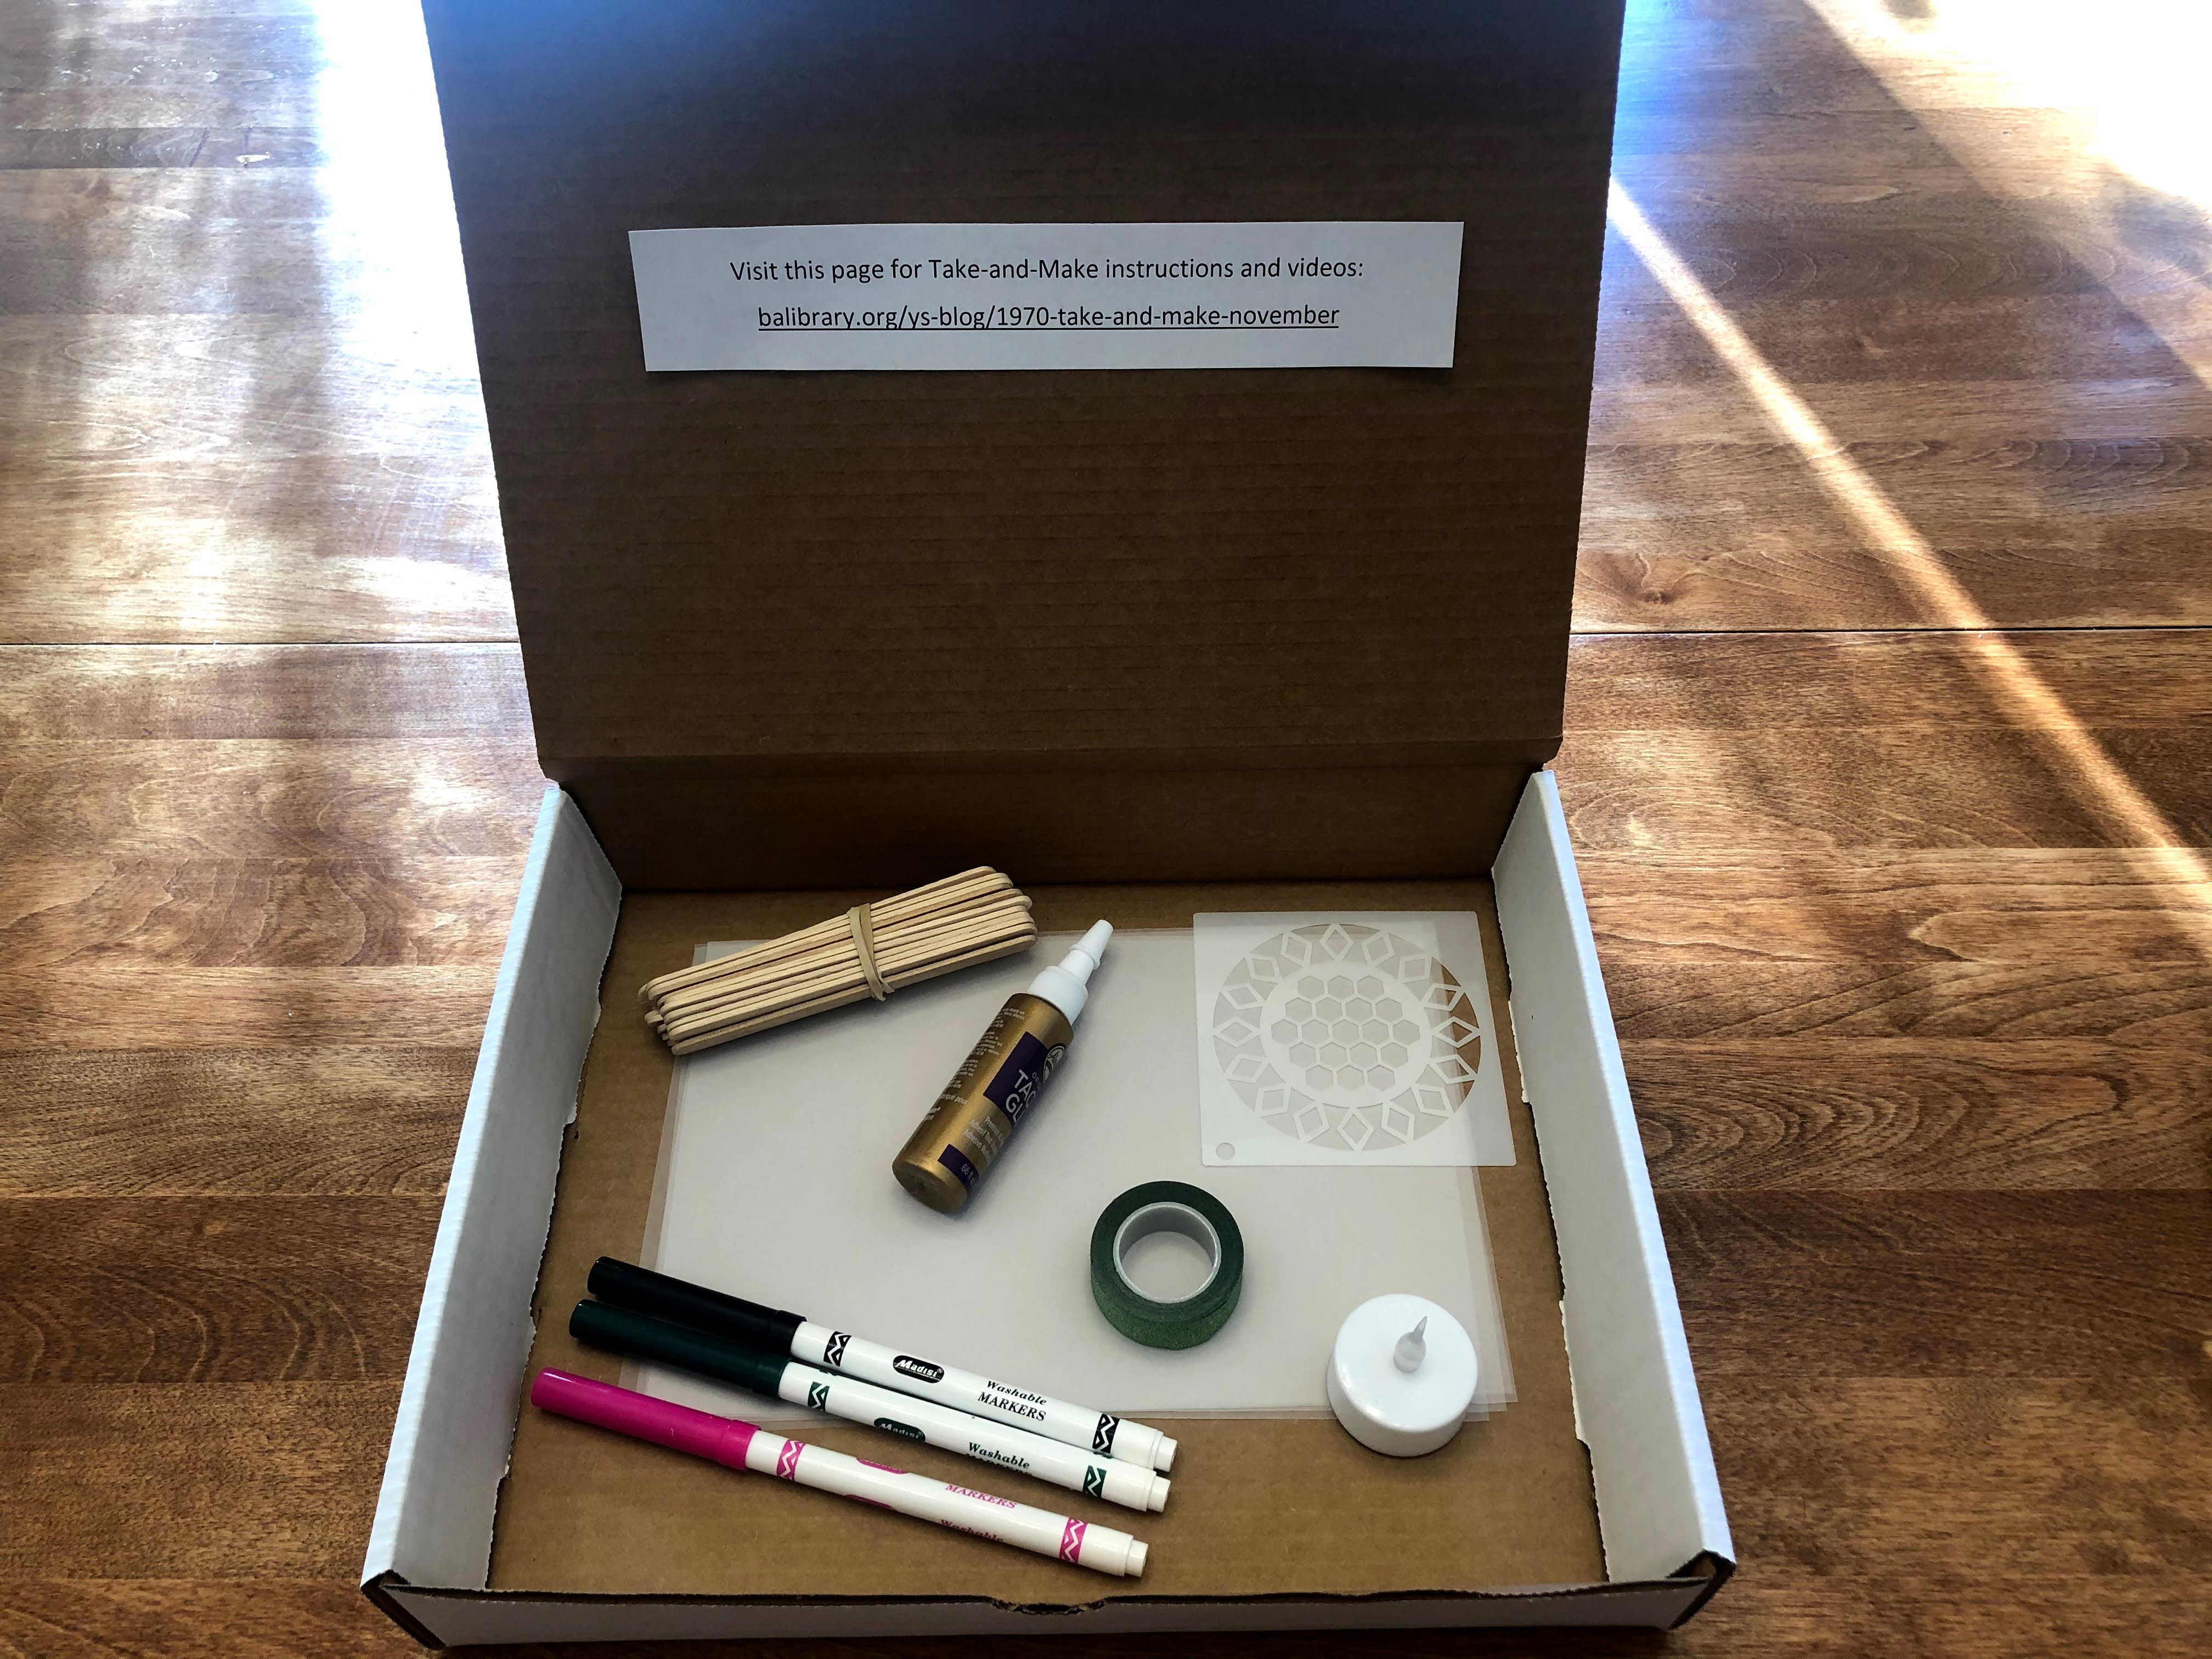
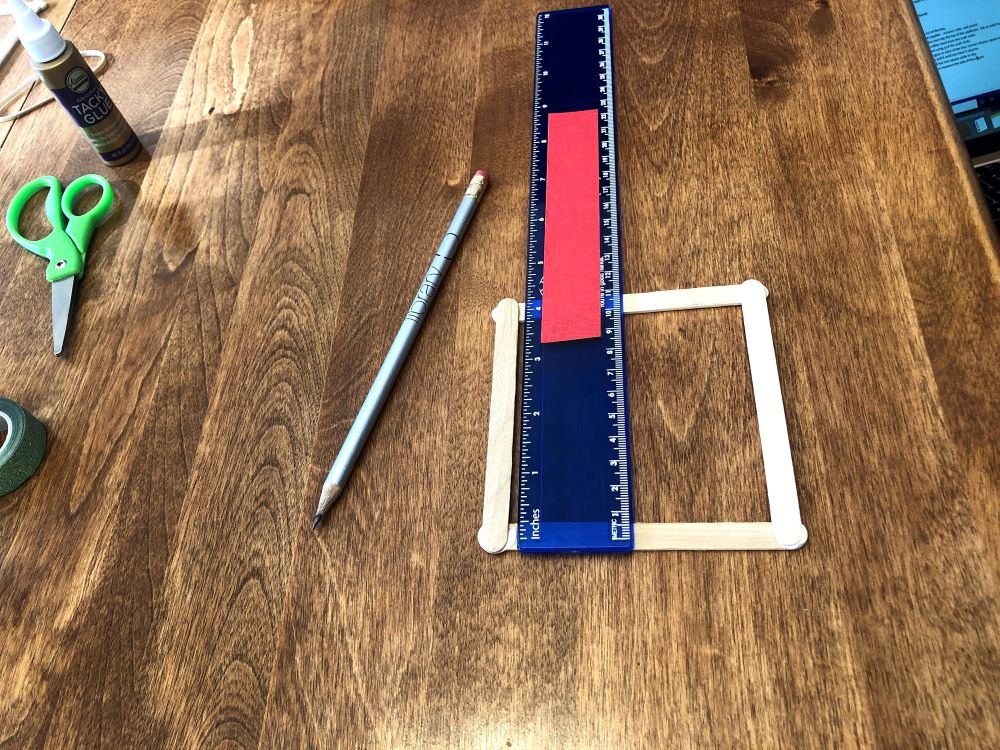
2. Gather extra supplies – scissors, ruler, and pencil.
3. Uncap the glue and snip the top of the applicator. Ask an adult to help!
4. Remove the rubber band from the craft sticks.
5. Create a square using 4 of the craft sticks.
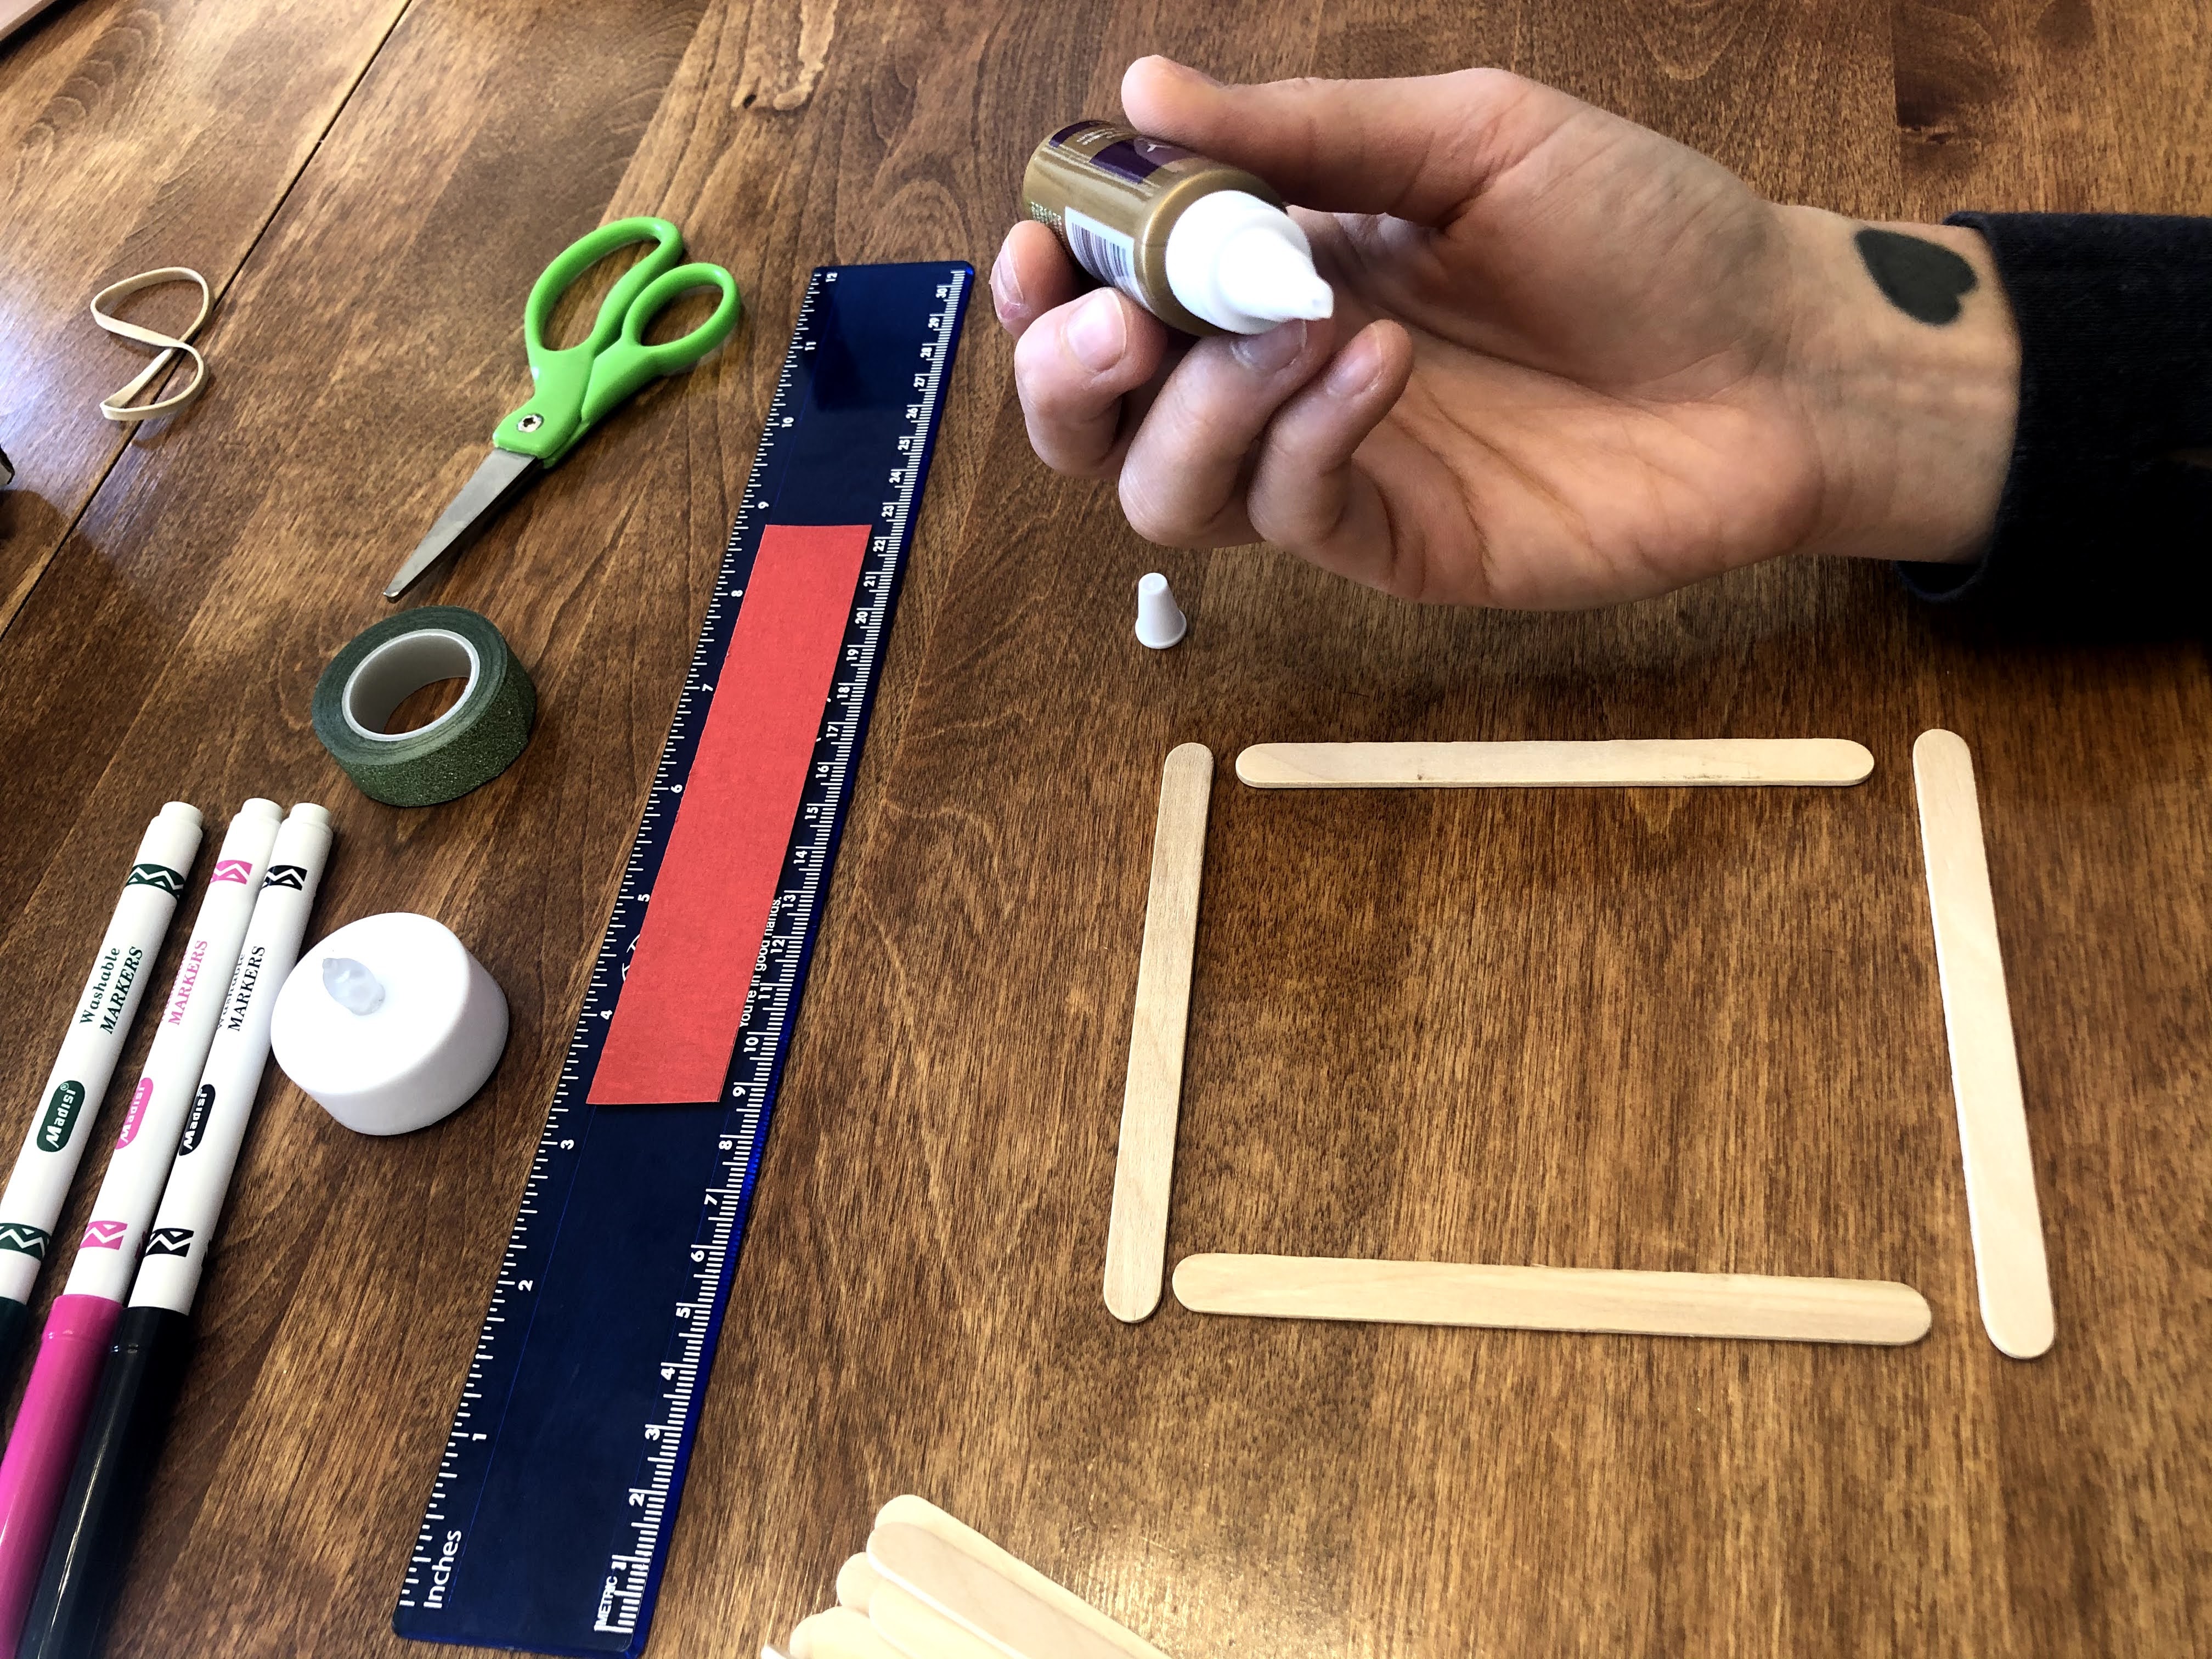
6. Place a dot of glue on each of the four corners of your square in between the craft sticks.
7. Repeat steps 5 and 6 until you have 5 squares.
8. Carefully set all but one square aside to dry.
9. Use your ruler to measure the side of the square.
10. Now, using your ruler, measure out 5 squares on your tracing paper. If you cut your tracing papers in half first it will help you make sure you have enough paper to cut all of your squares.
11. Use your scissors to cut out all 5 squares.
12. Now it is time to decorate! You can decorate all 4 sides, just one or any number in between.
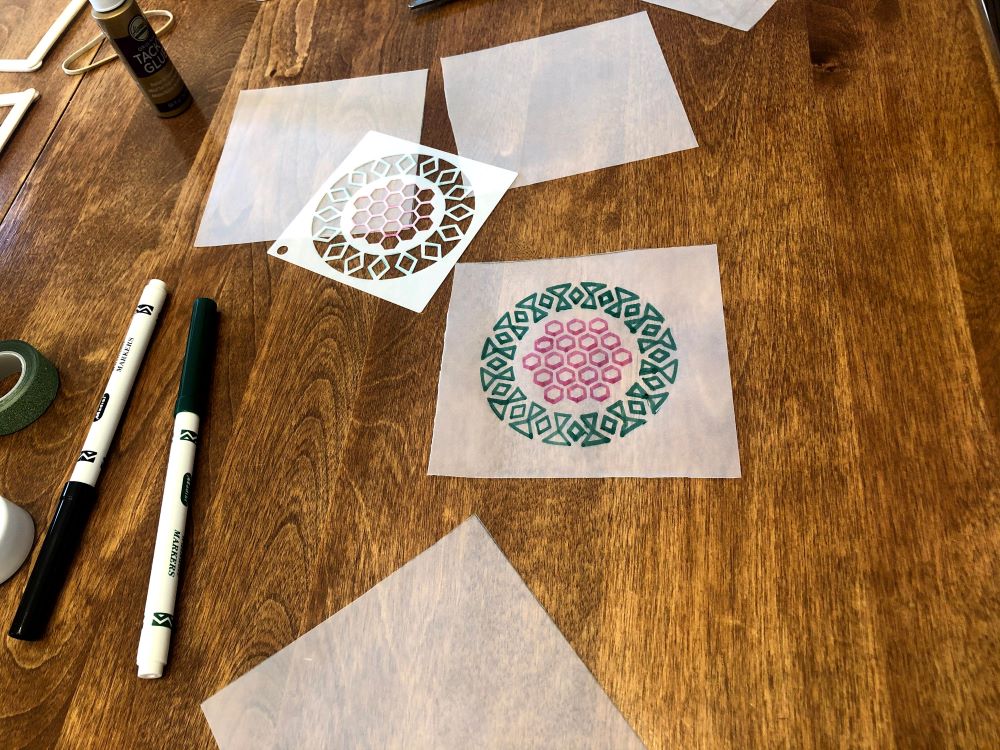
13. You can use your mandala stencil and markers, or you can use your markers to make any design you want! Remember one of the squares goes on the bottom, so you don’t need to decorate that one.
14. Glue each of the paper squares to the craft stick squares. You don’t need much glue, just a dot on each corner of the craft stick square.

15. Let all the glue dry before moving on to the next step.
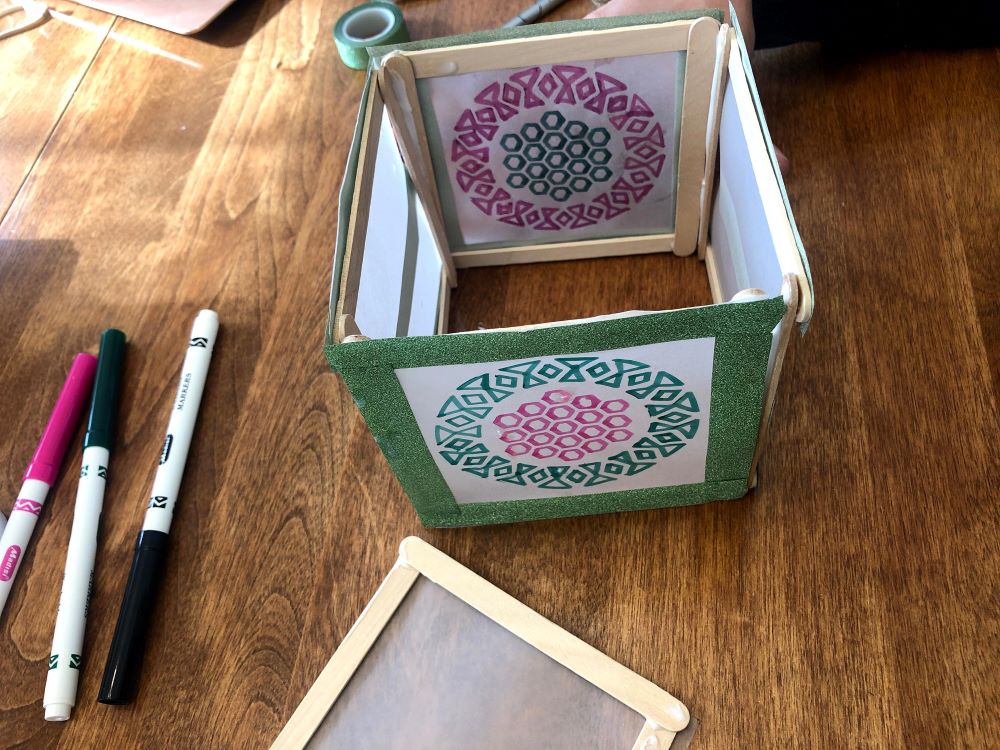
16. Use your washi tape to add some flair to the sides of the lantern.
17. Assemble the lantern by gluing the squares together to create a cube with an open top. You may need an adult to help with holding the pieces in place as the glue sets.
18. Wait for project to completely dry.
19. Turn on the LED tealight and place in the lantern.
20. Enjoy the glow!
Register for a Grades K-2 Kit here.
Grades 3-8: Washi Tape Bookmarks
- Cut strips of washi tape.
- Decorate a bookmark with the strips of washi tape however you like.
- Loop a tassel through the bookmark's hole.
Register for a Grades 3-8 Kit here.
 Youth Services Assistant Librarian Alyssa